


Prone Support
Prone Support Training
Codes: AM0700How to use Prone Support
How to assemble the Prone Support
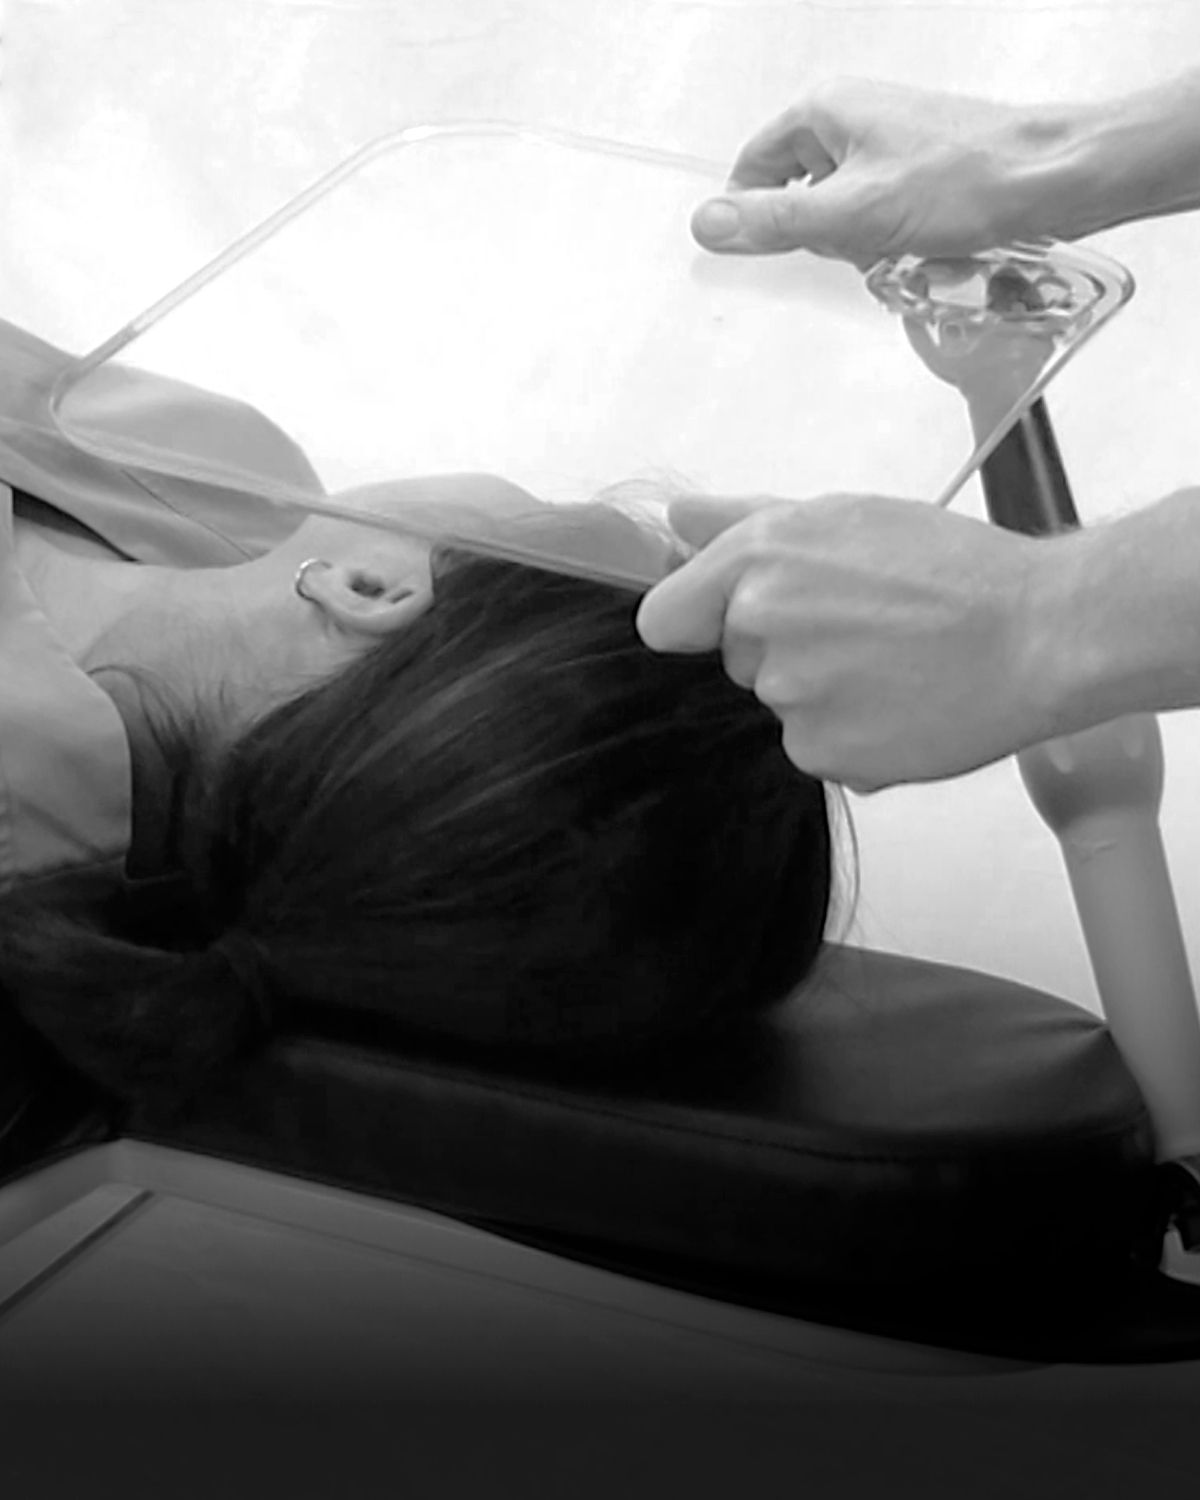
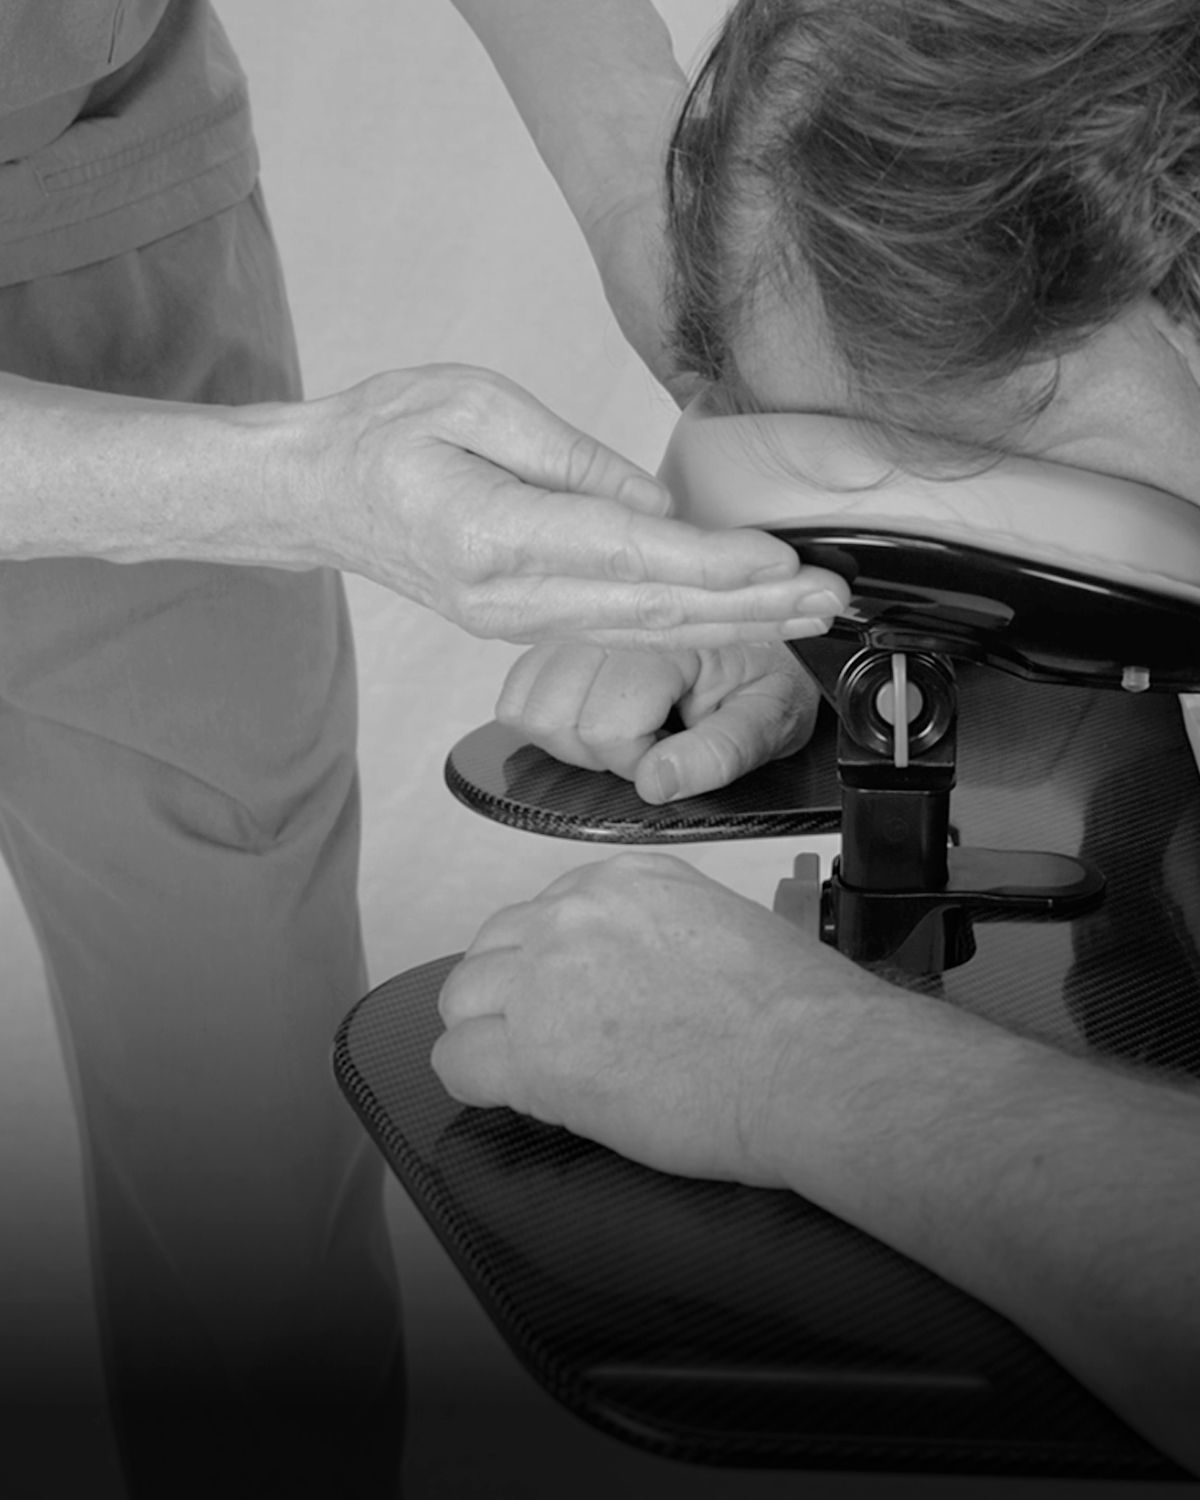
Remove the thumbscrew and conical washer from the adjustable assembly. Insert the face pad into the gap then replace the washer and thumbscrew.
Place the soft blue pad onto the plastic face support and press until all four protrusions are secured into their corresponding cavities.
Align the assembled unit with the recess in the base board, keeping the lever side facing the arm support. Tilt the unit slightly inward, then push down into the recess until it clicks securely into place.
How to disassemble the Prone Support
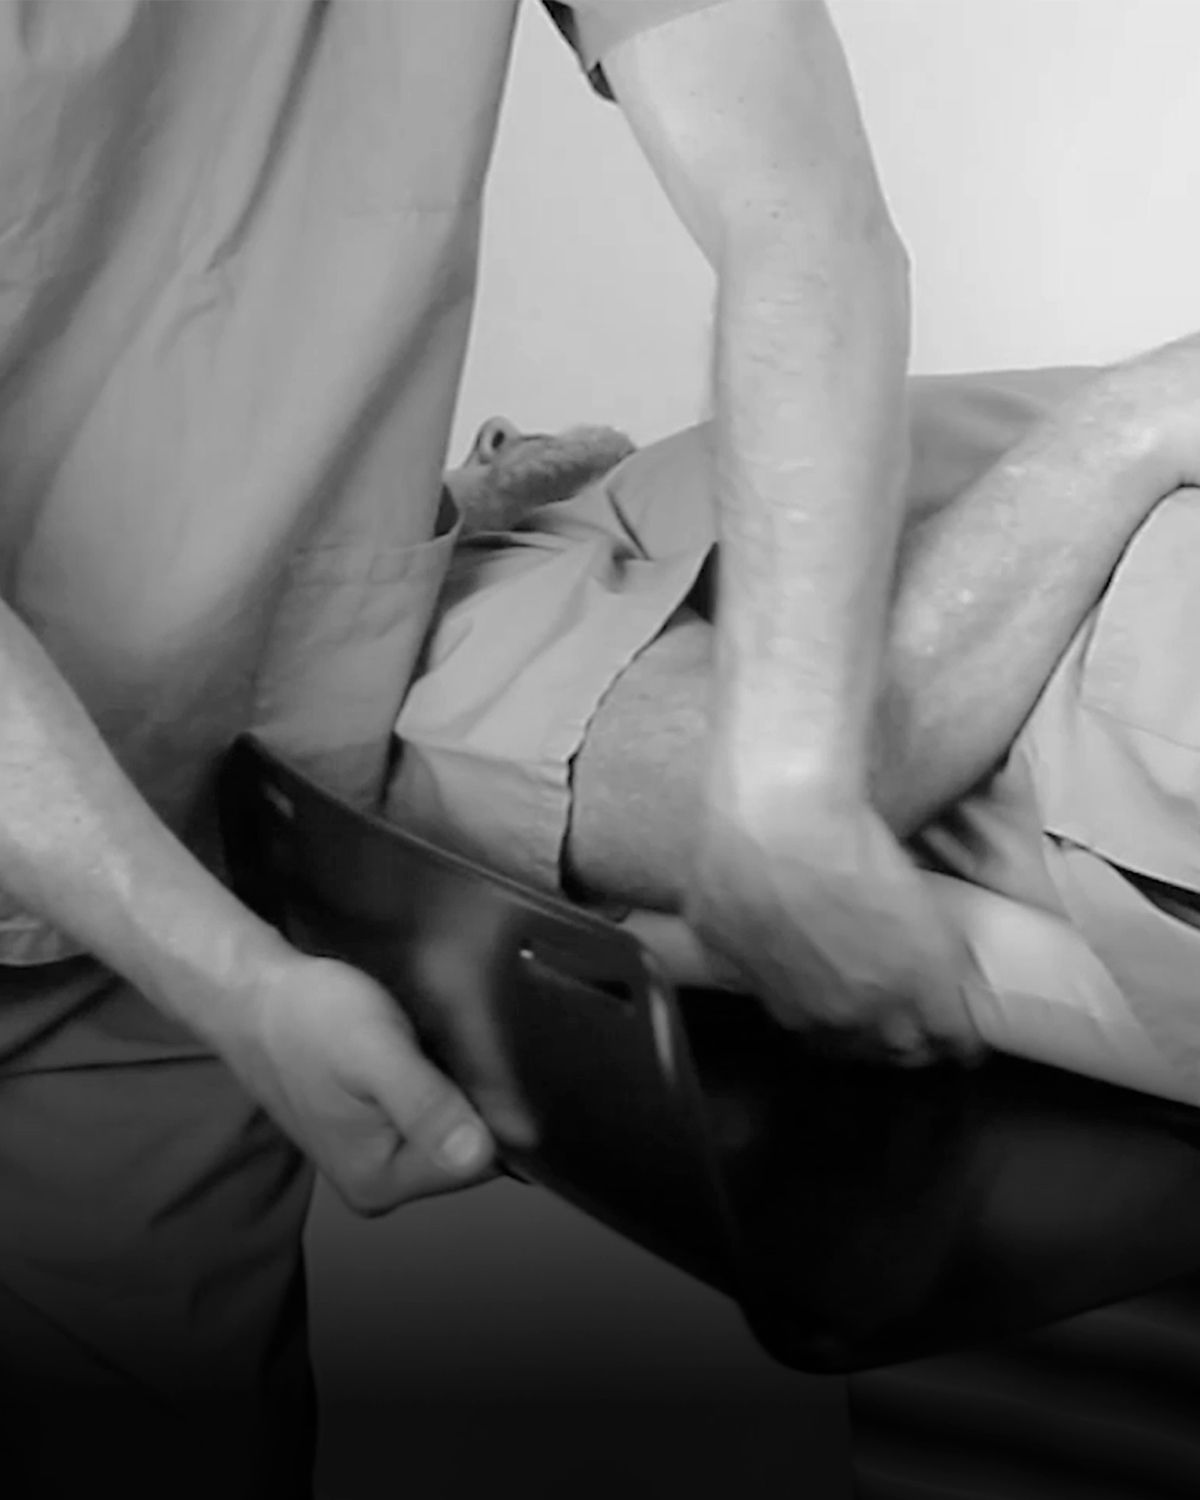
Hold the base board down with one hand, and the Adjustable Assembly in the other. Tilt the assembly away from the arm board before lifting out of the recess.
We recommend keeping the components of the adjustable assembly together.
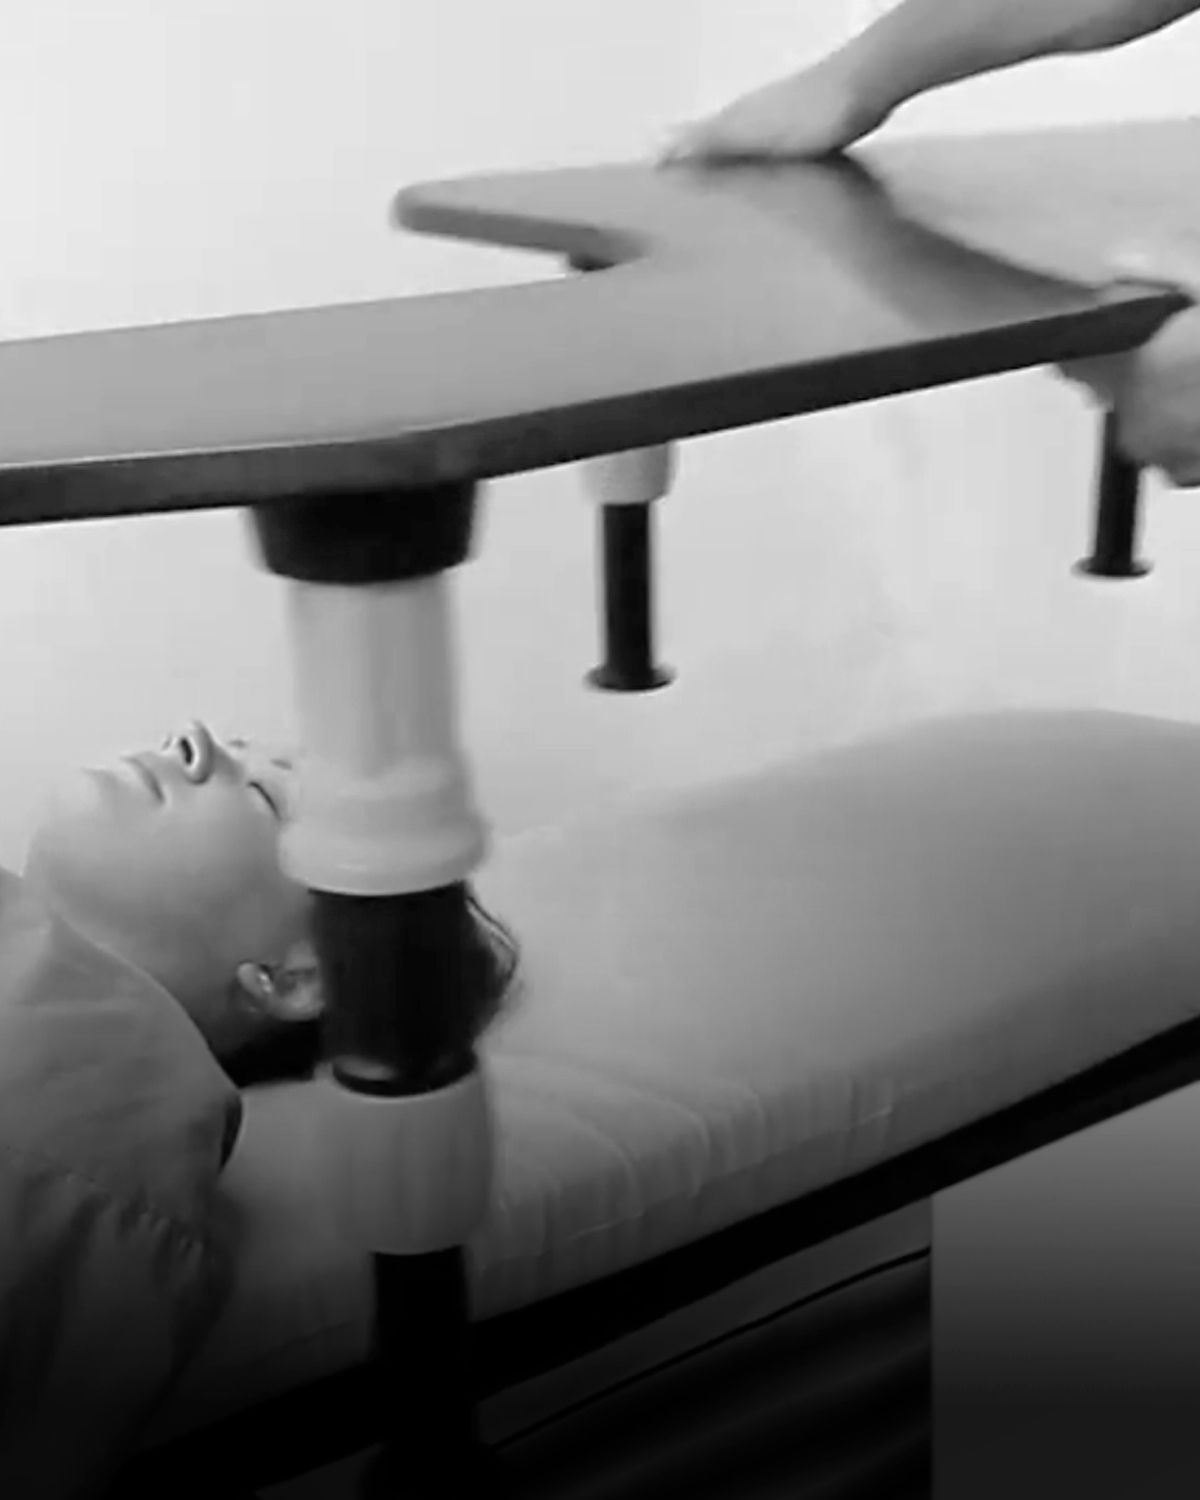
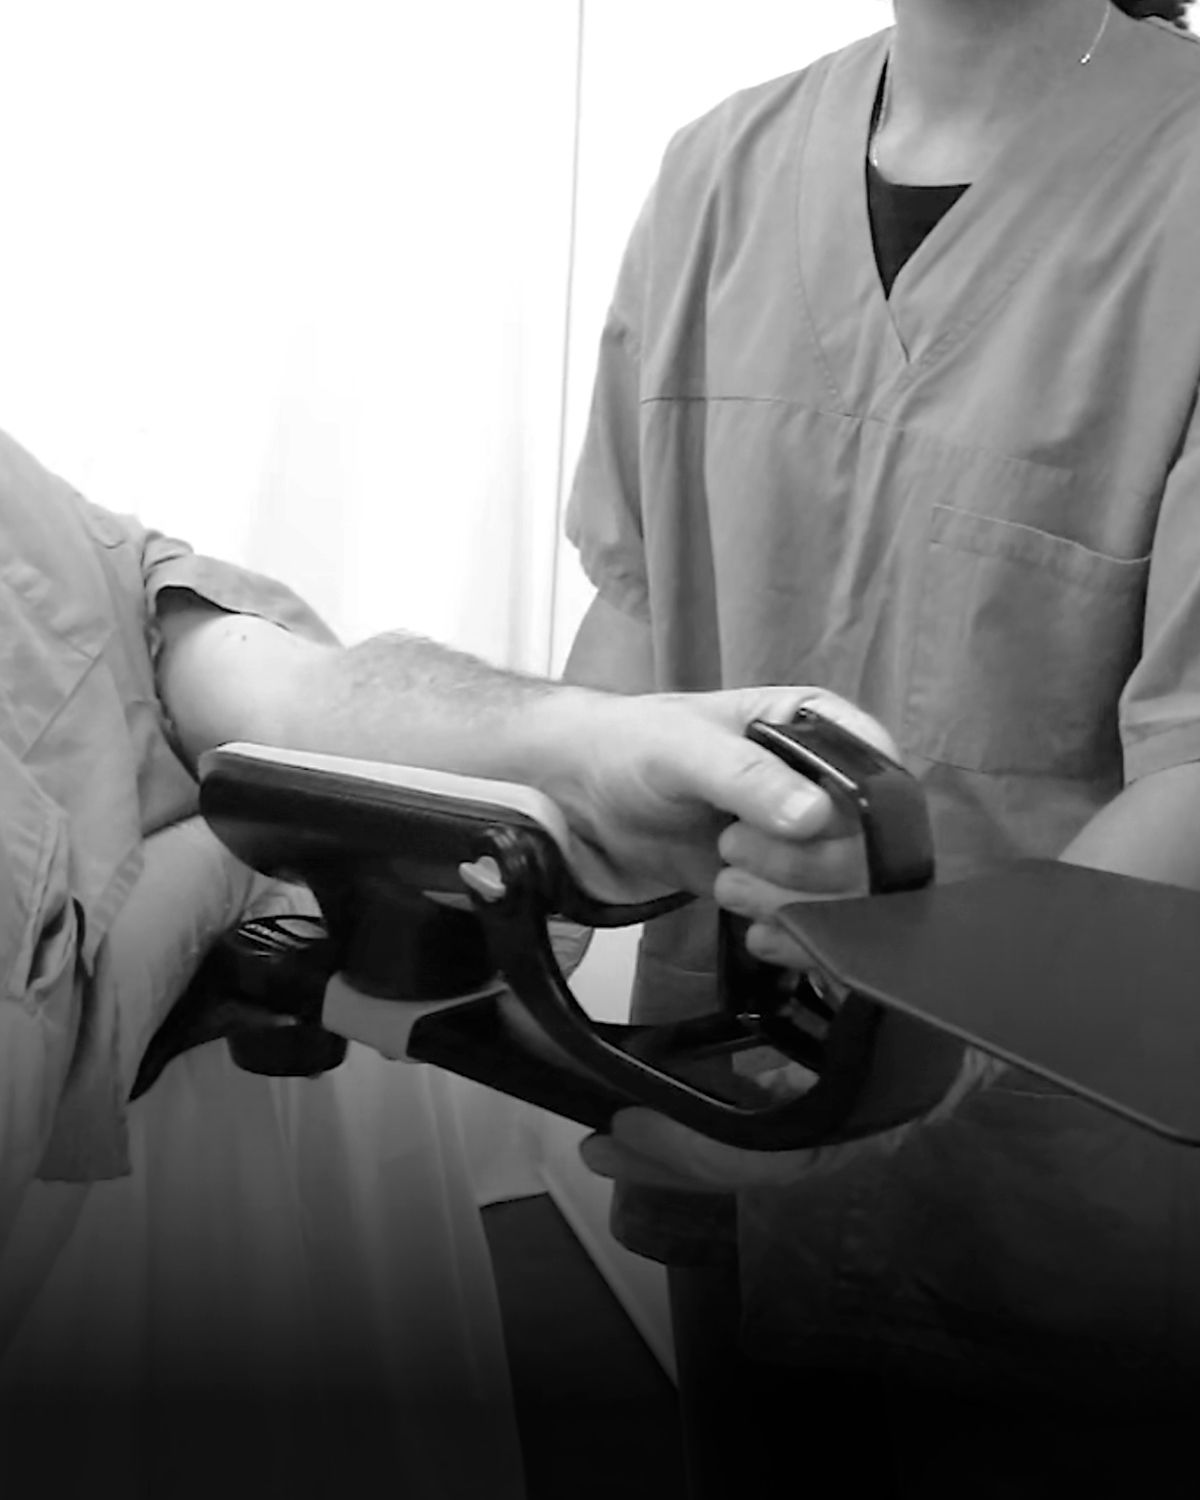
How to adjust the height and angle of the face pad support
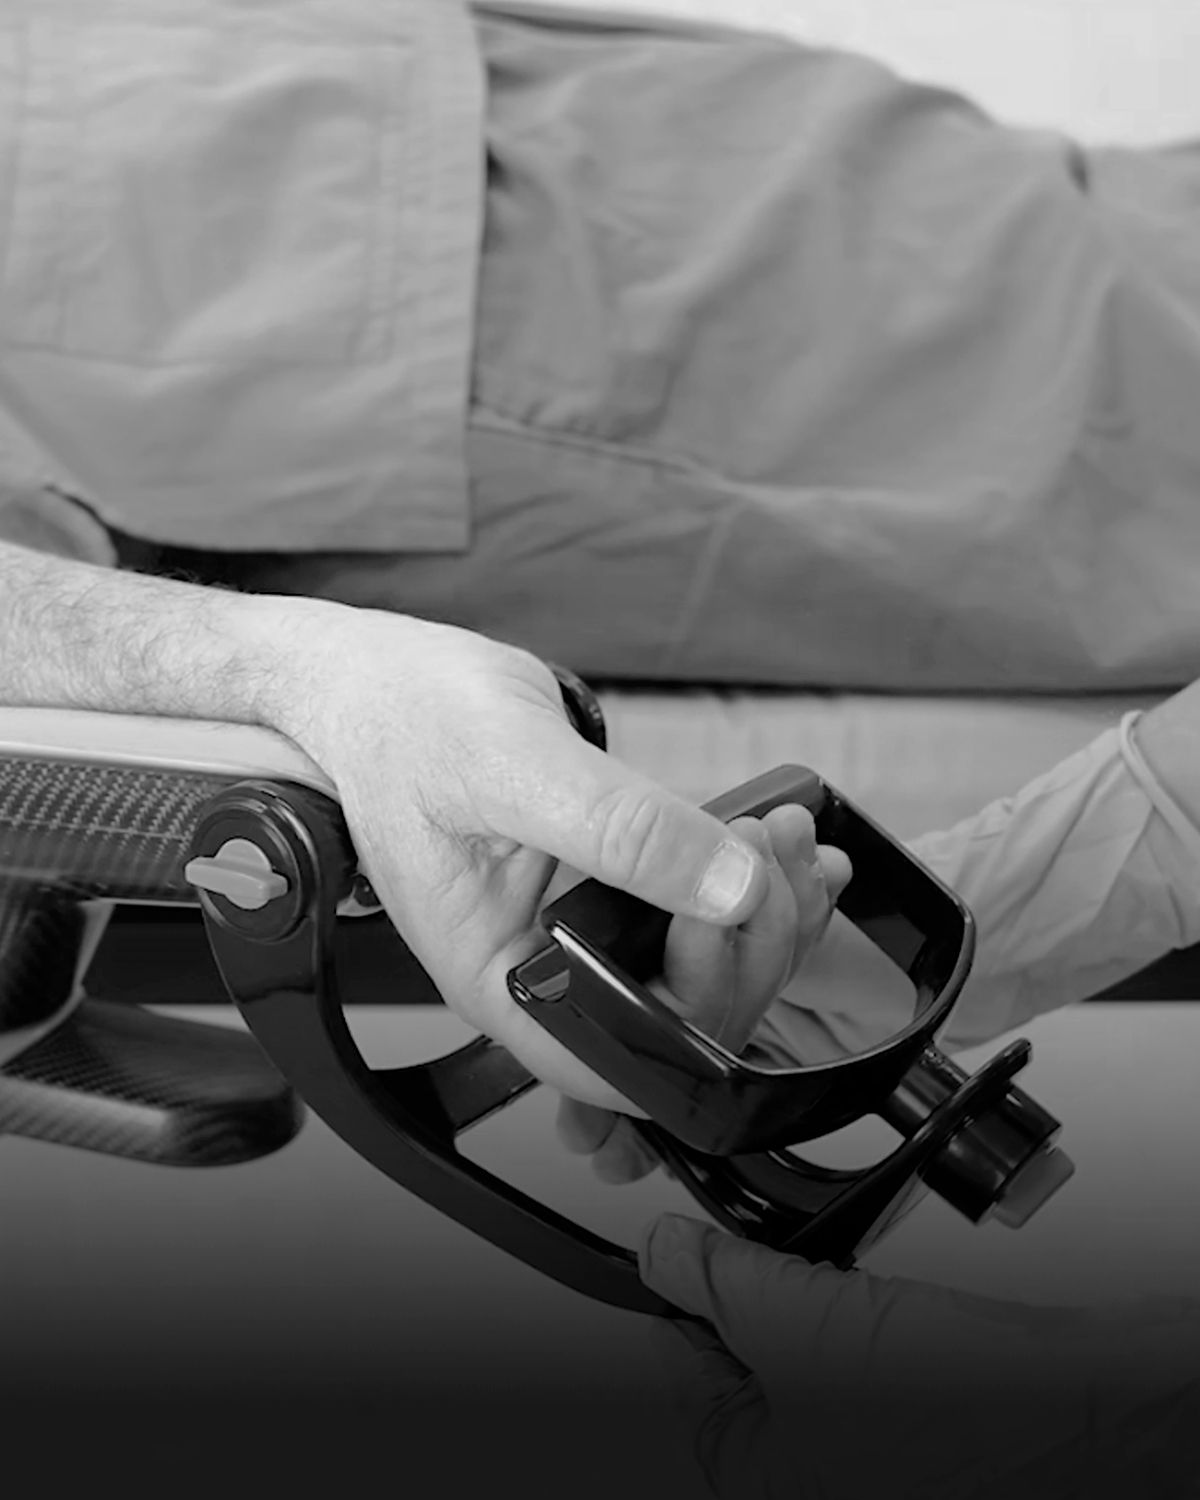
Rotate the locking lever upward to unlock, then slide the adjustable assembly up or down to the desired height. Rotate the lever downward to a vertical position to lock it in place.
Loosen the thumbscrew to adjust the angle of the face pad support, then tighten to secure in place.
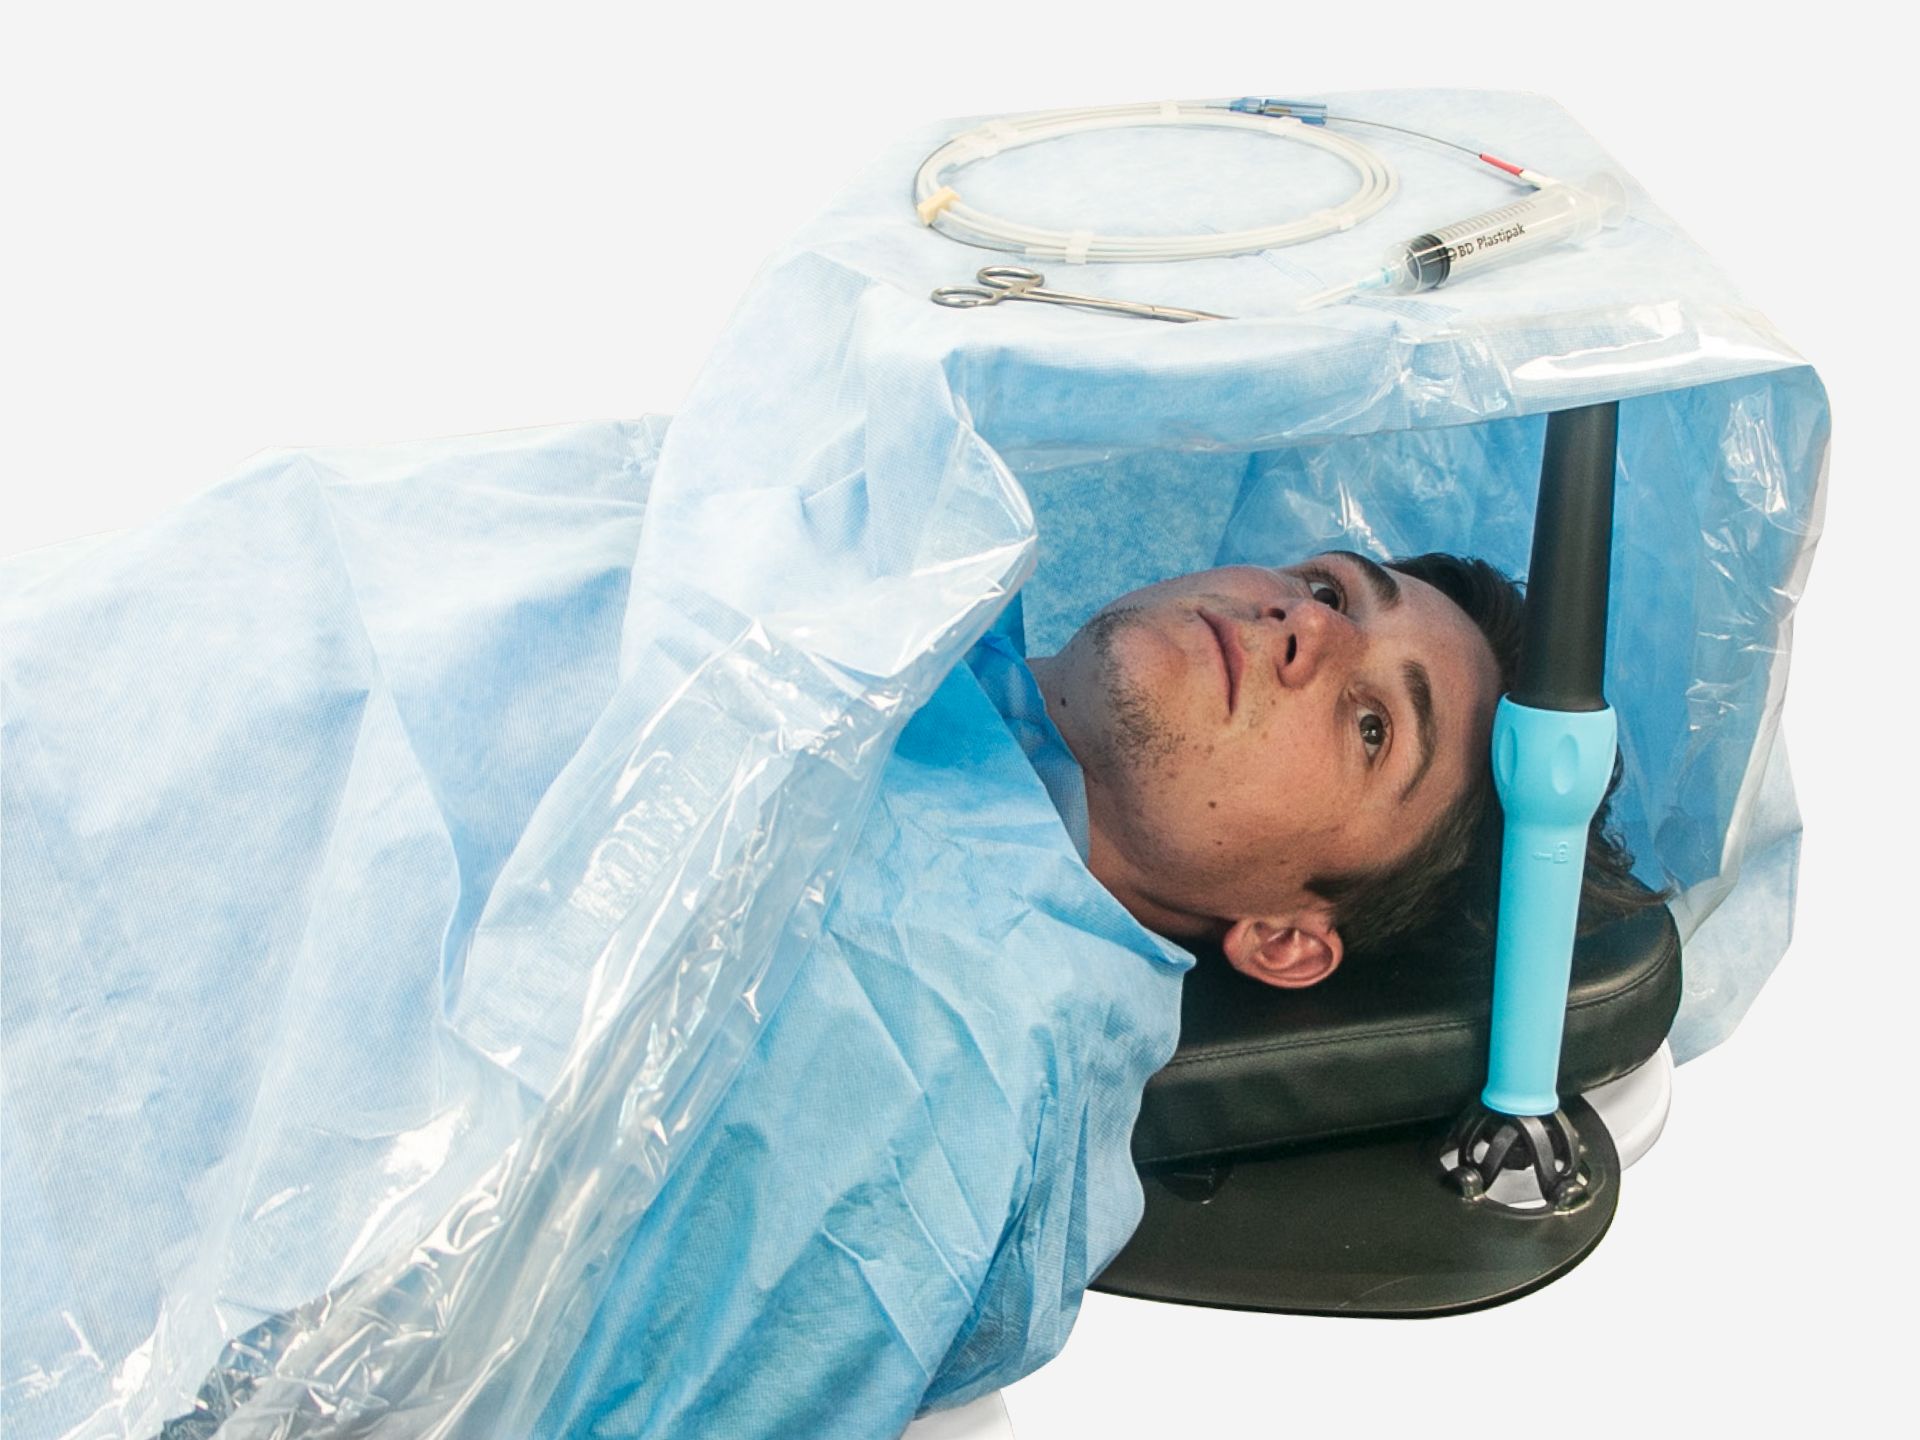
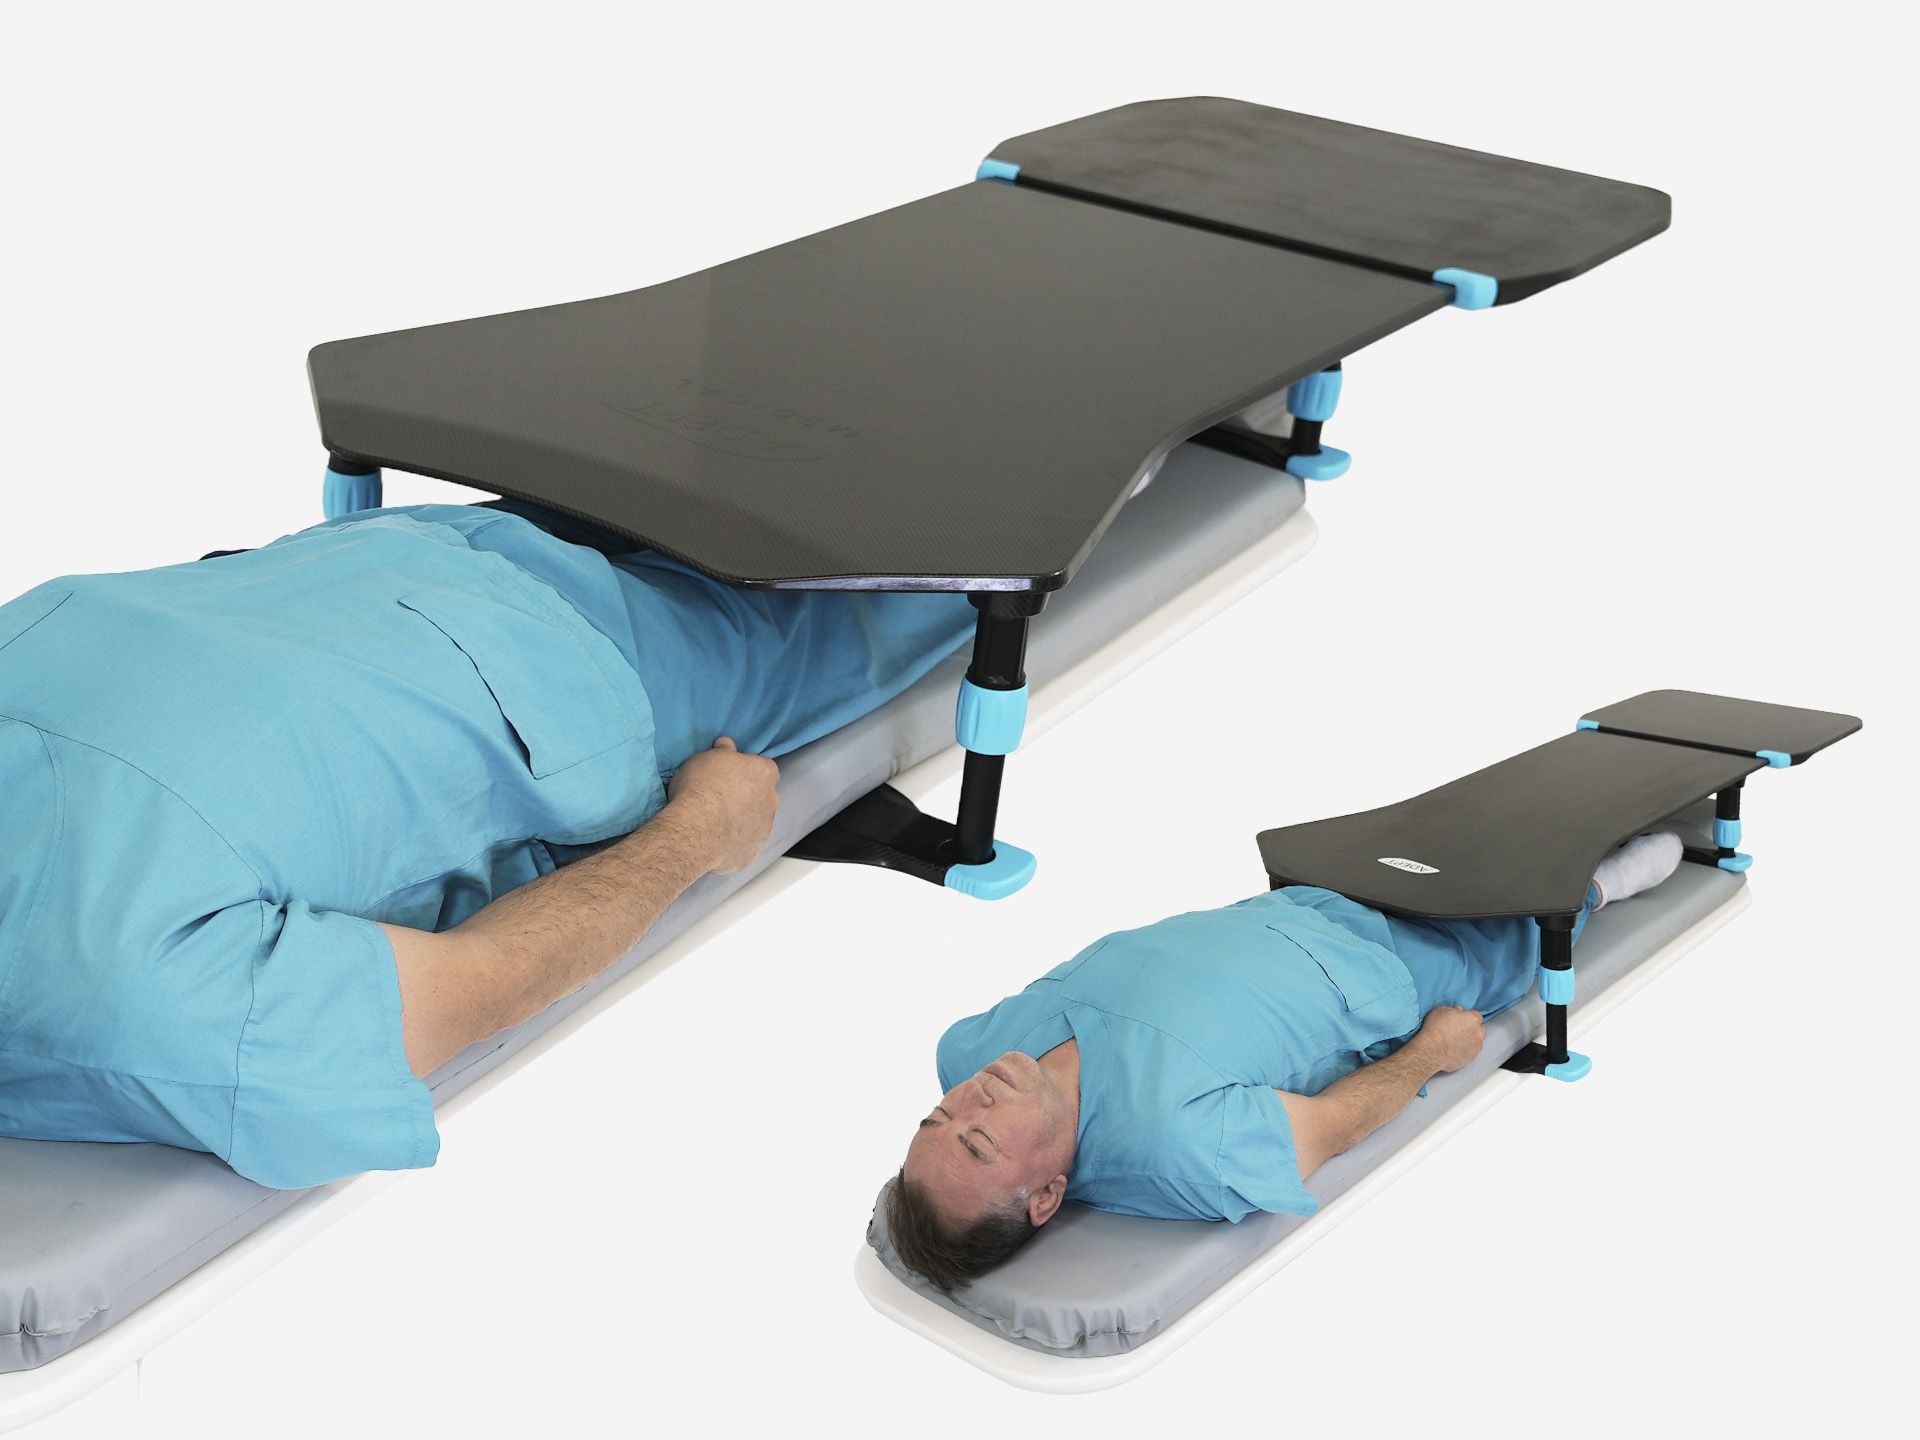
How to set up the Prone Support and position the patient
Use only a standard flat, rectangular imaging table to maximise contact between base board and imaging table surface.
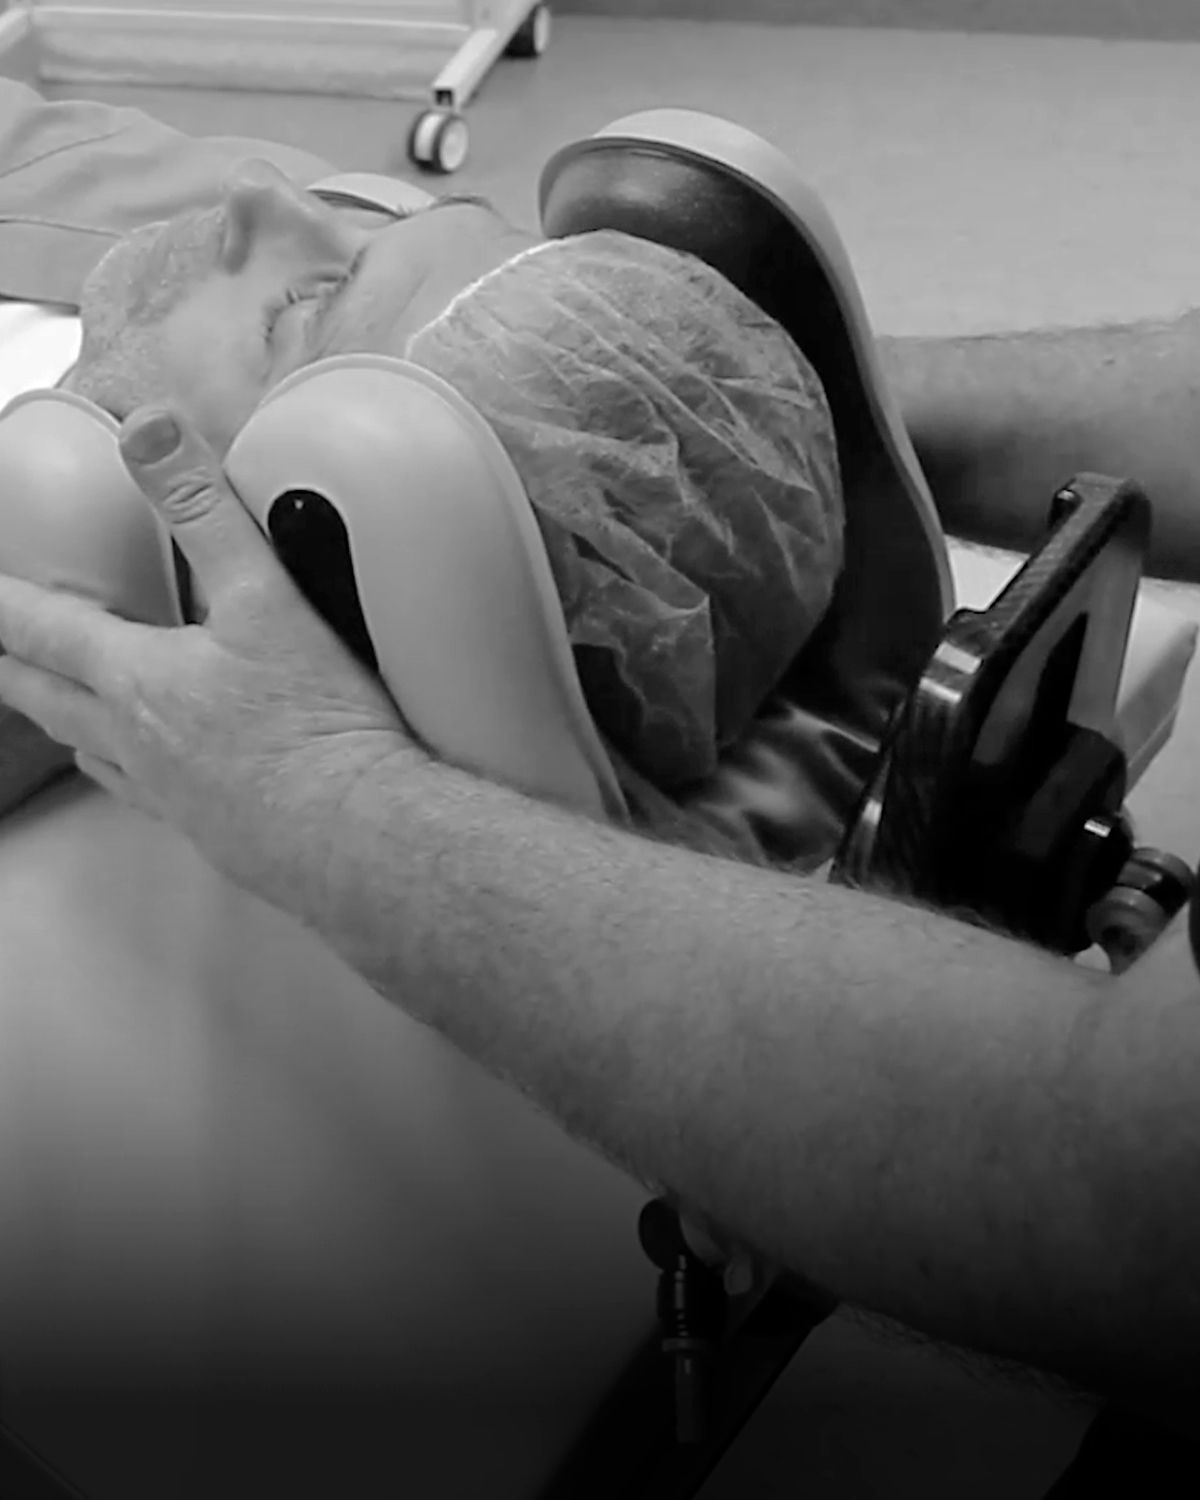
Ensure the patient is positioned prone on the imaging table before placing the device. Lift the mattress and slide the Base Board under until the protrusion below the device meets the end of the imaging table. Ensure device is centred.
Multiple operators may be required to safely support the patient’s weight for ease of product set up, while a single operator inserts the device under the base board.
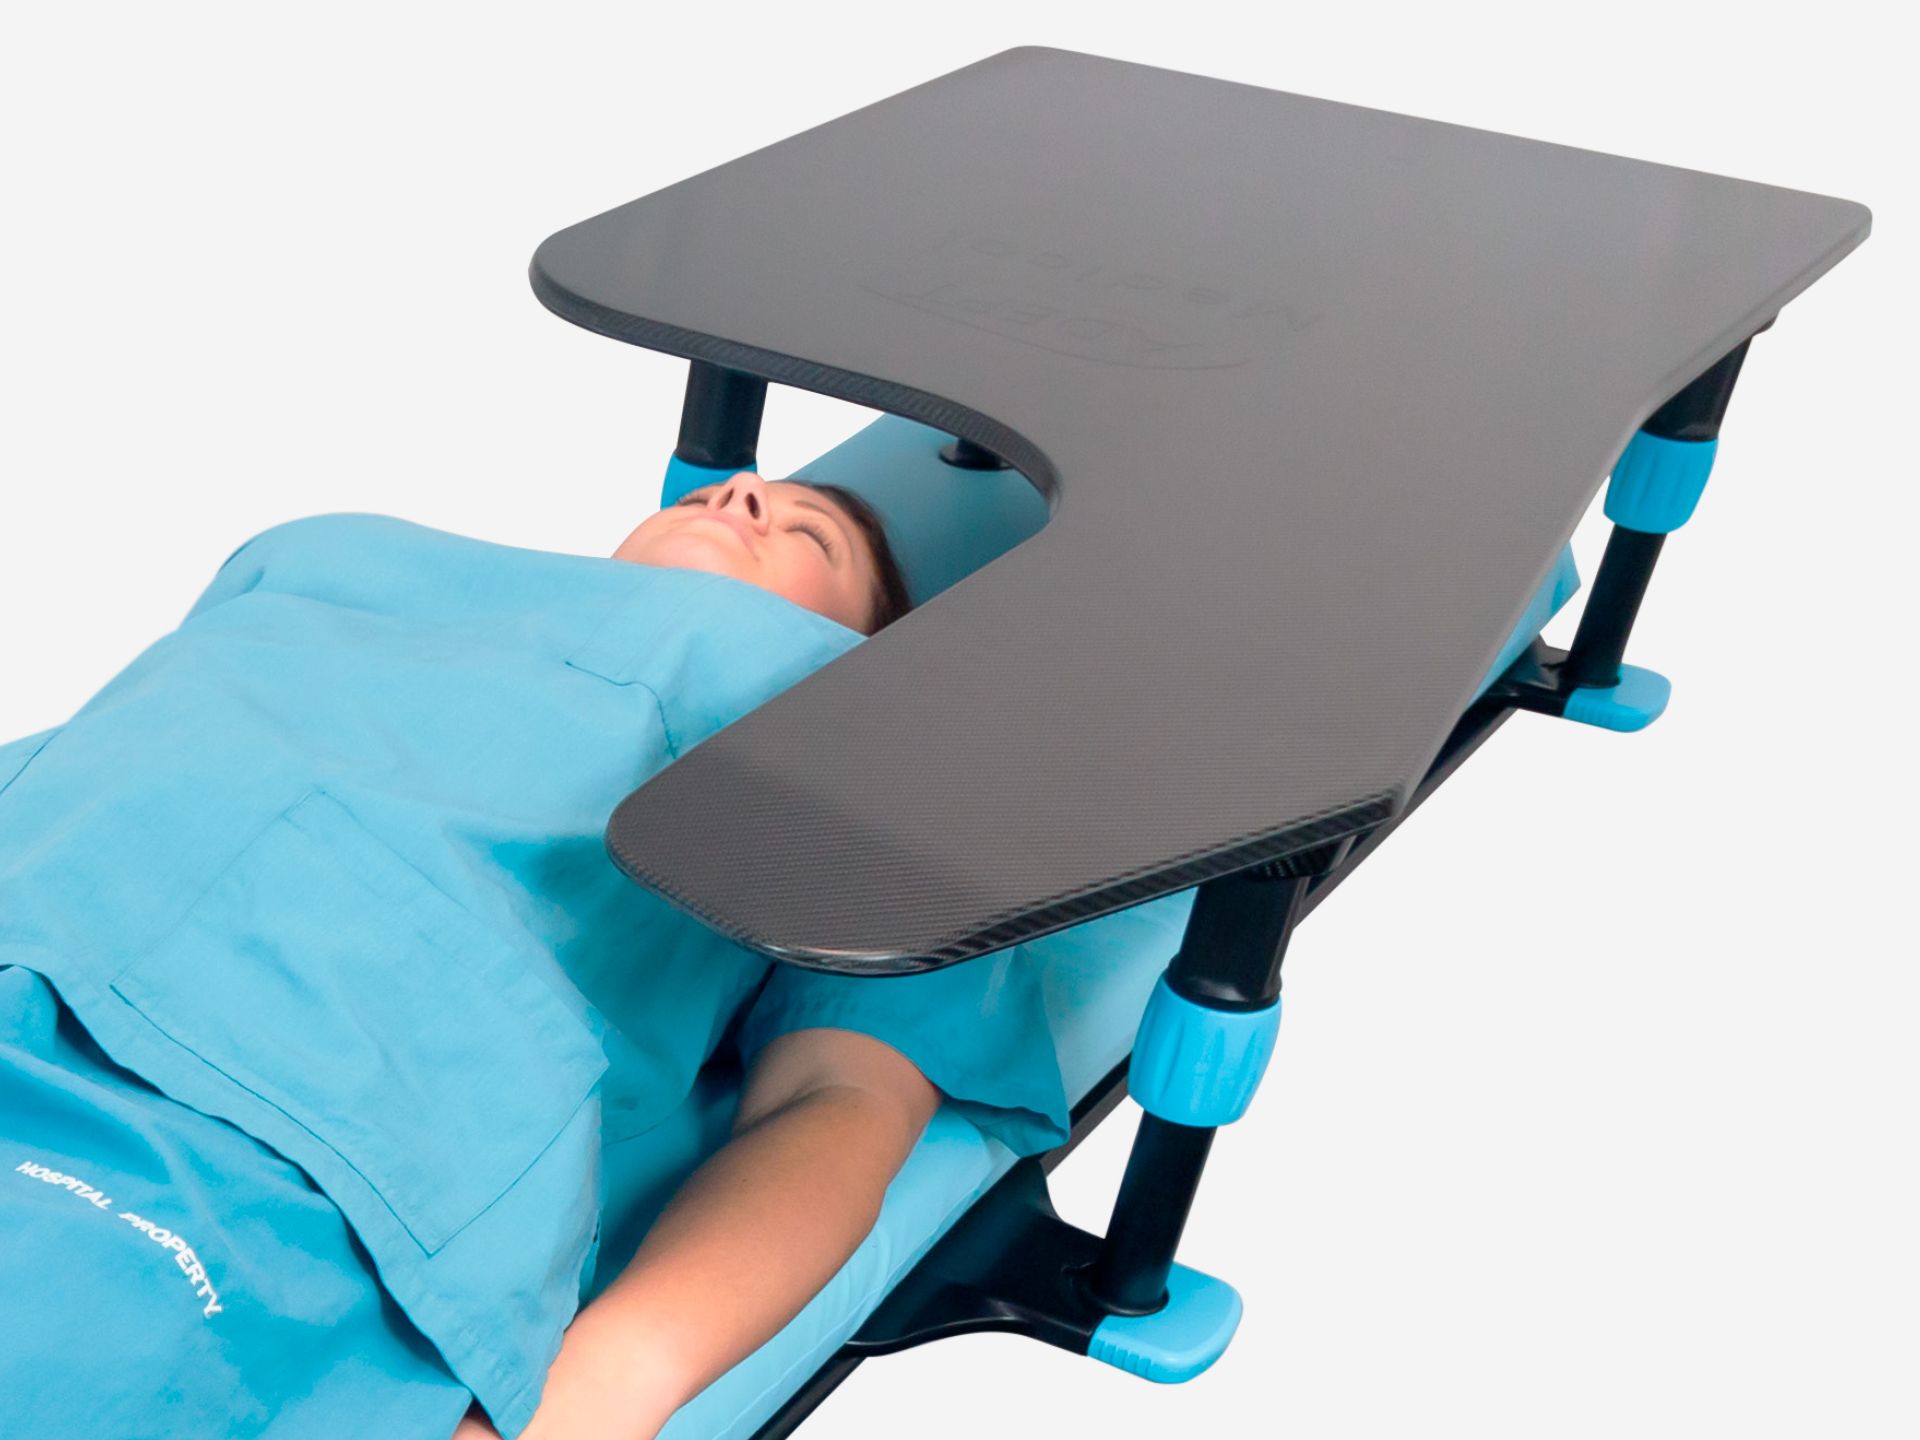
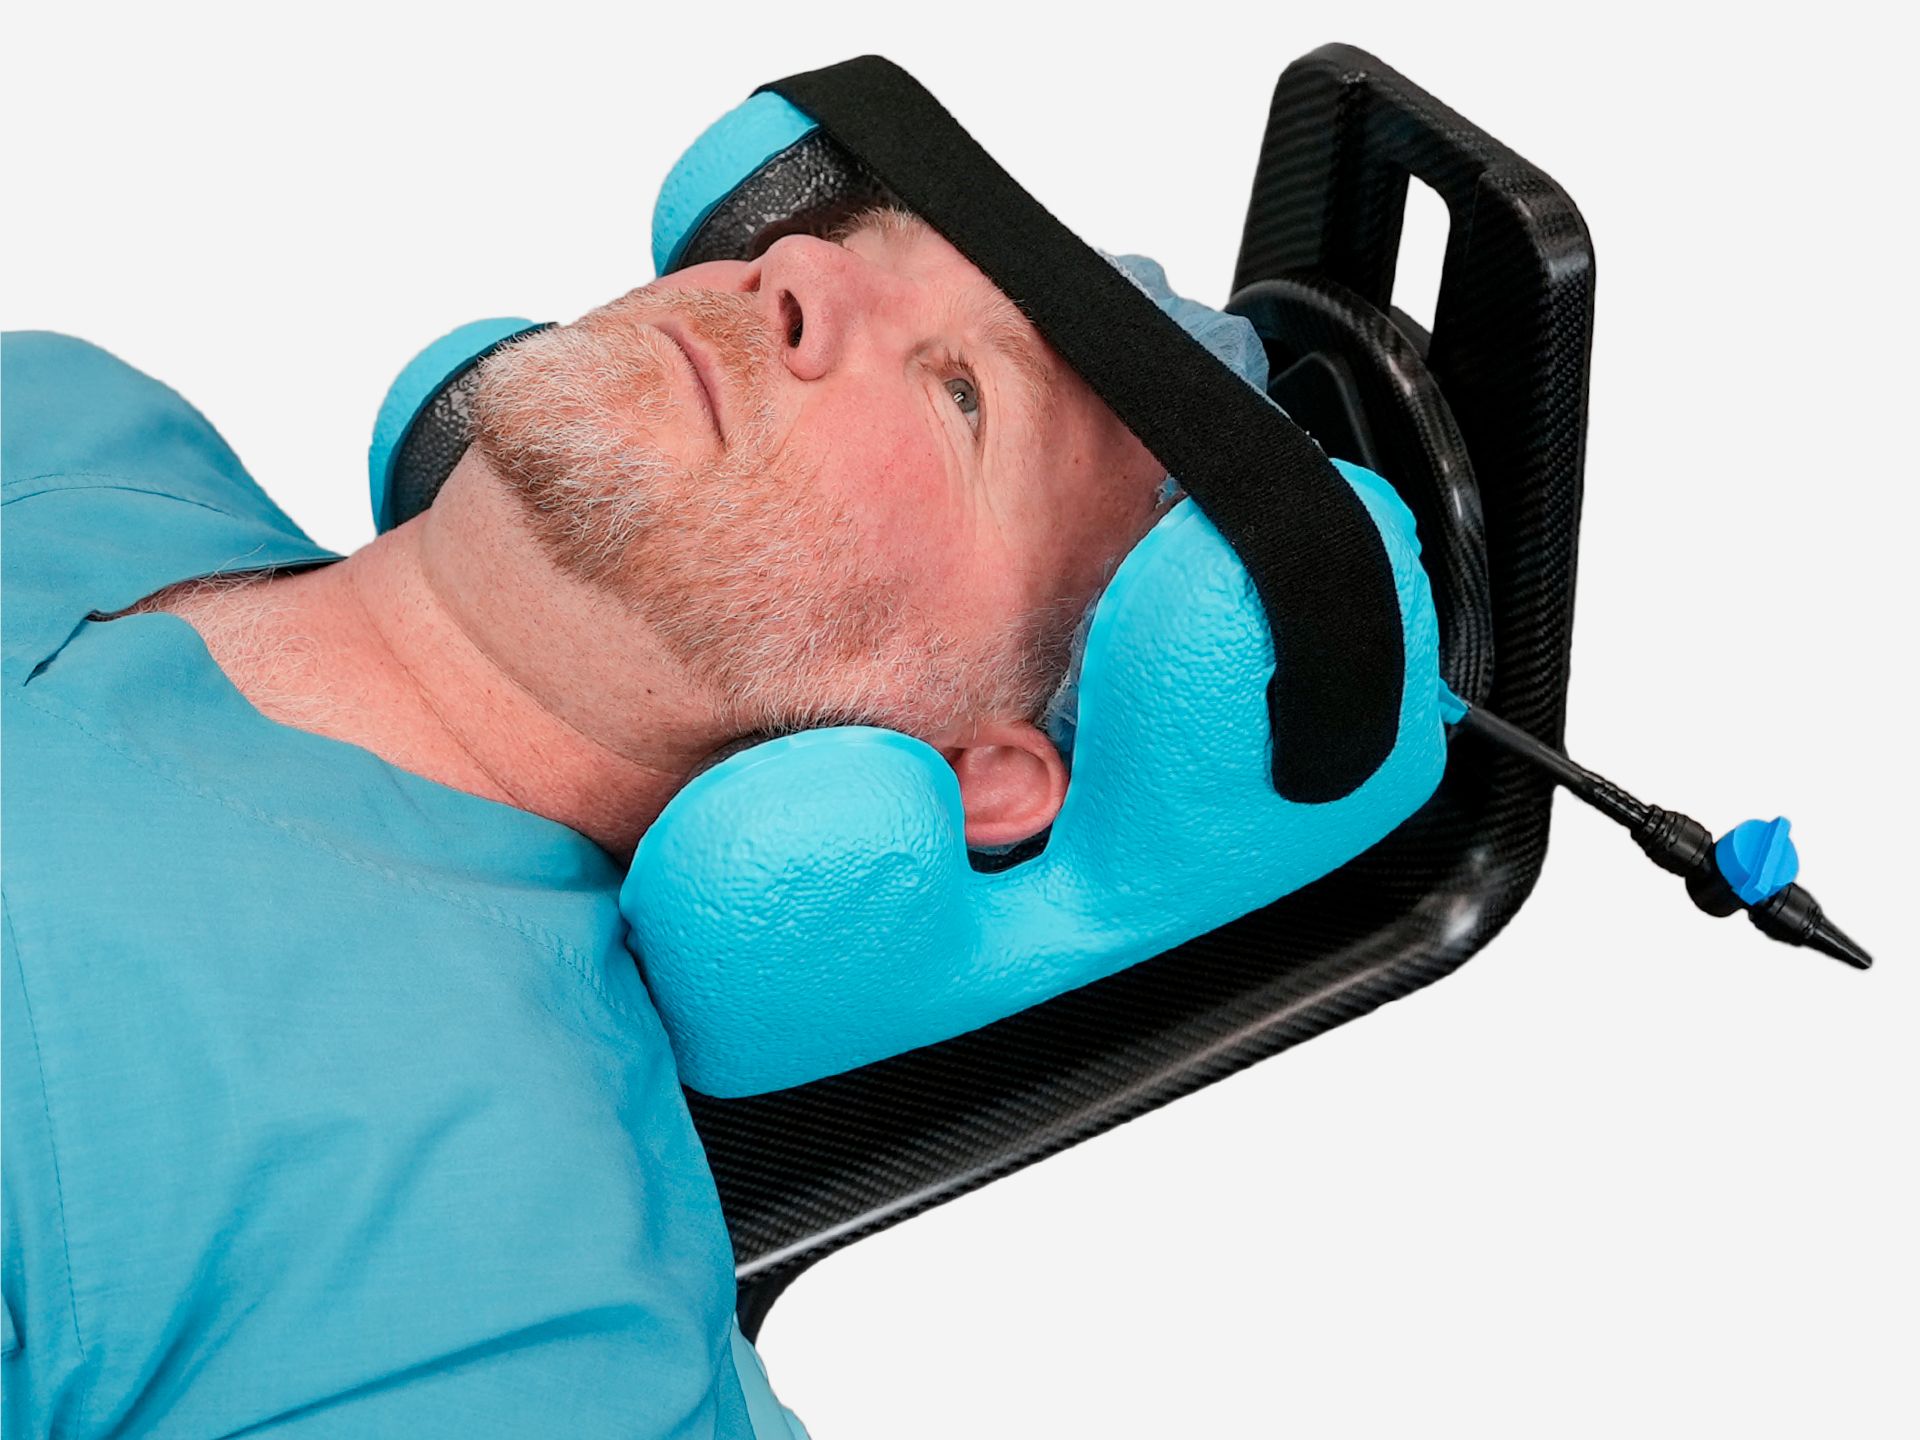
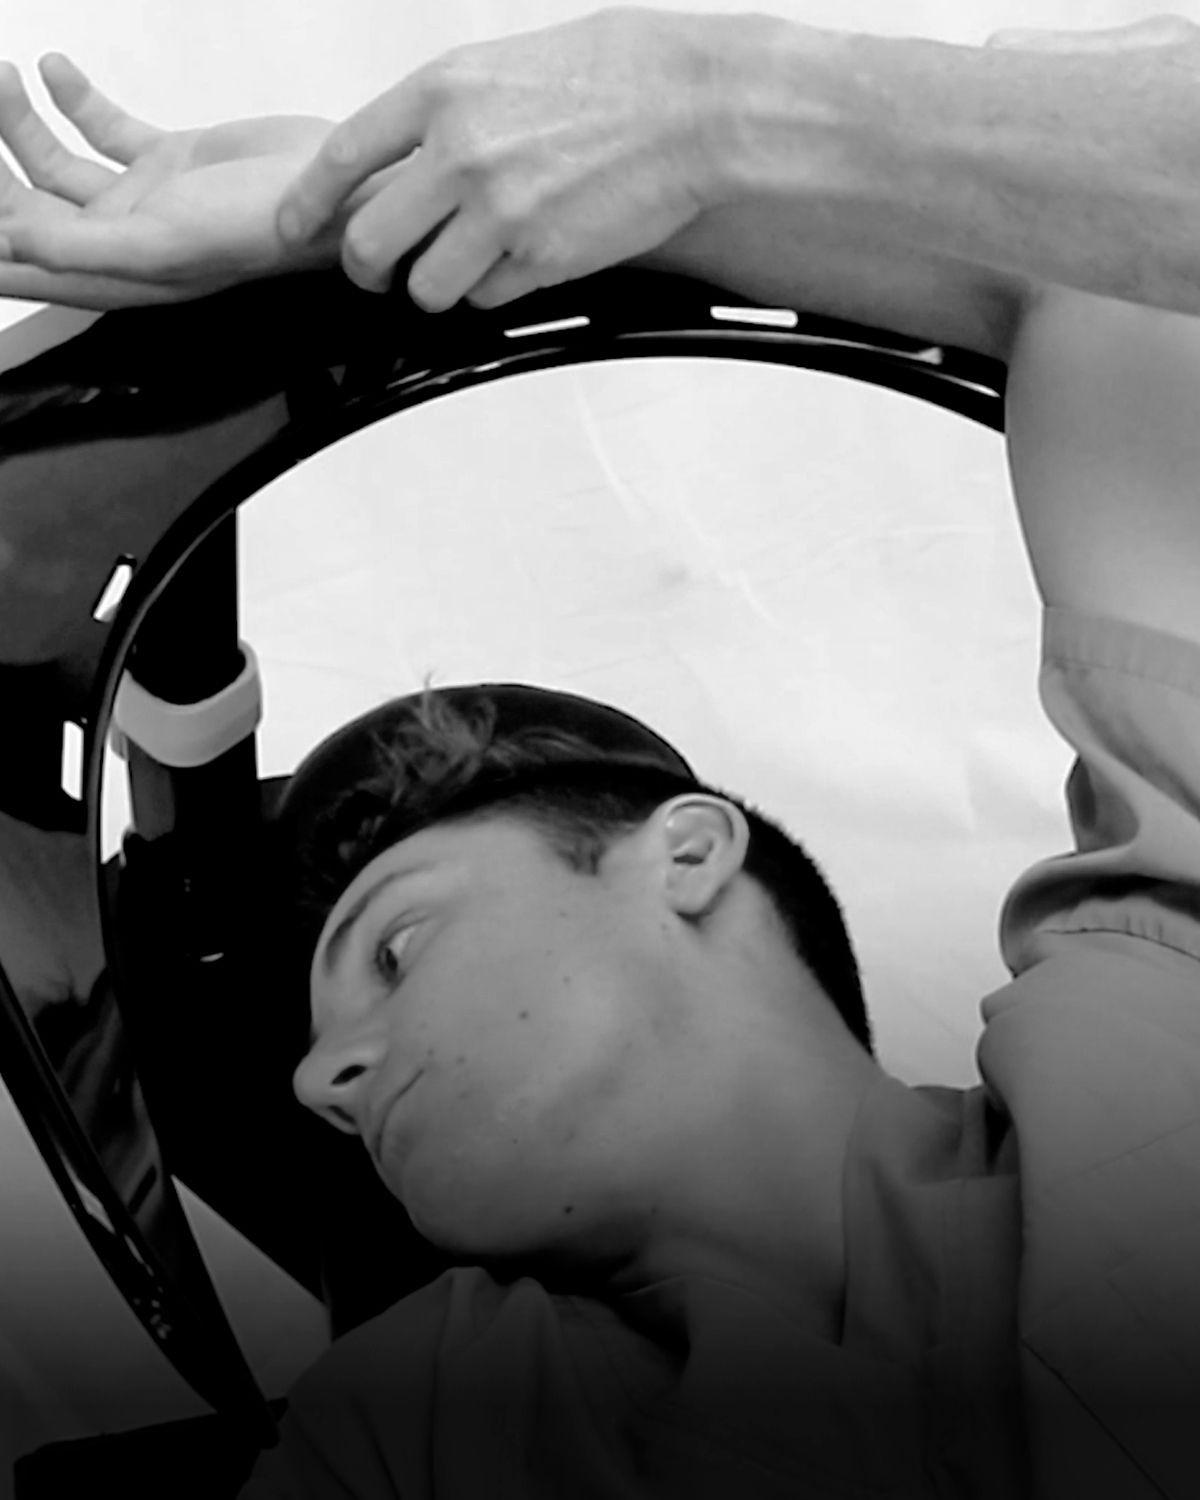
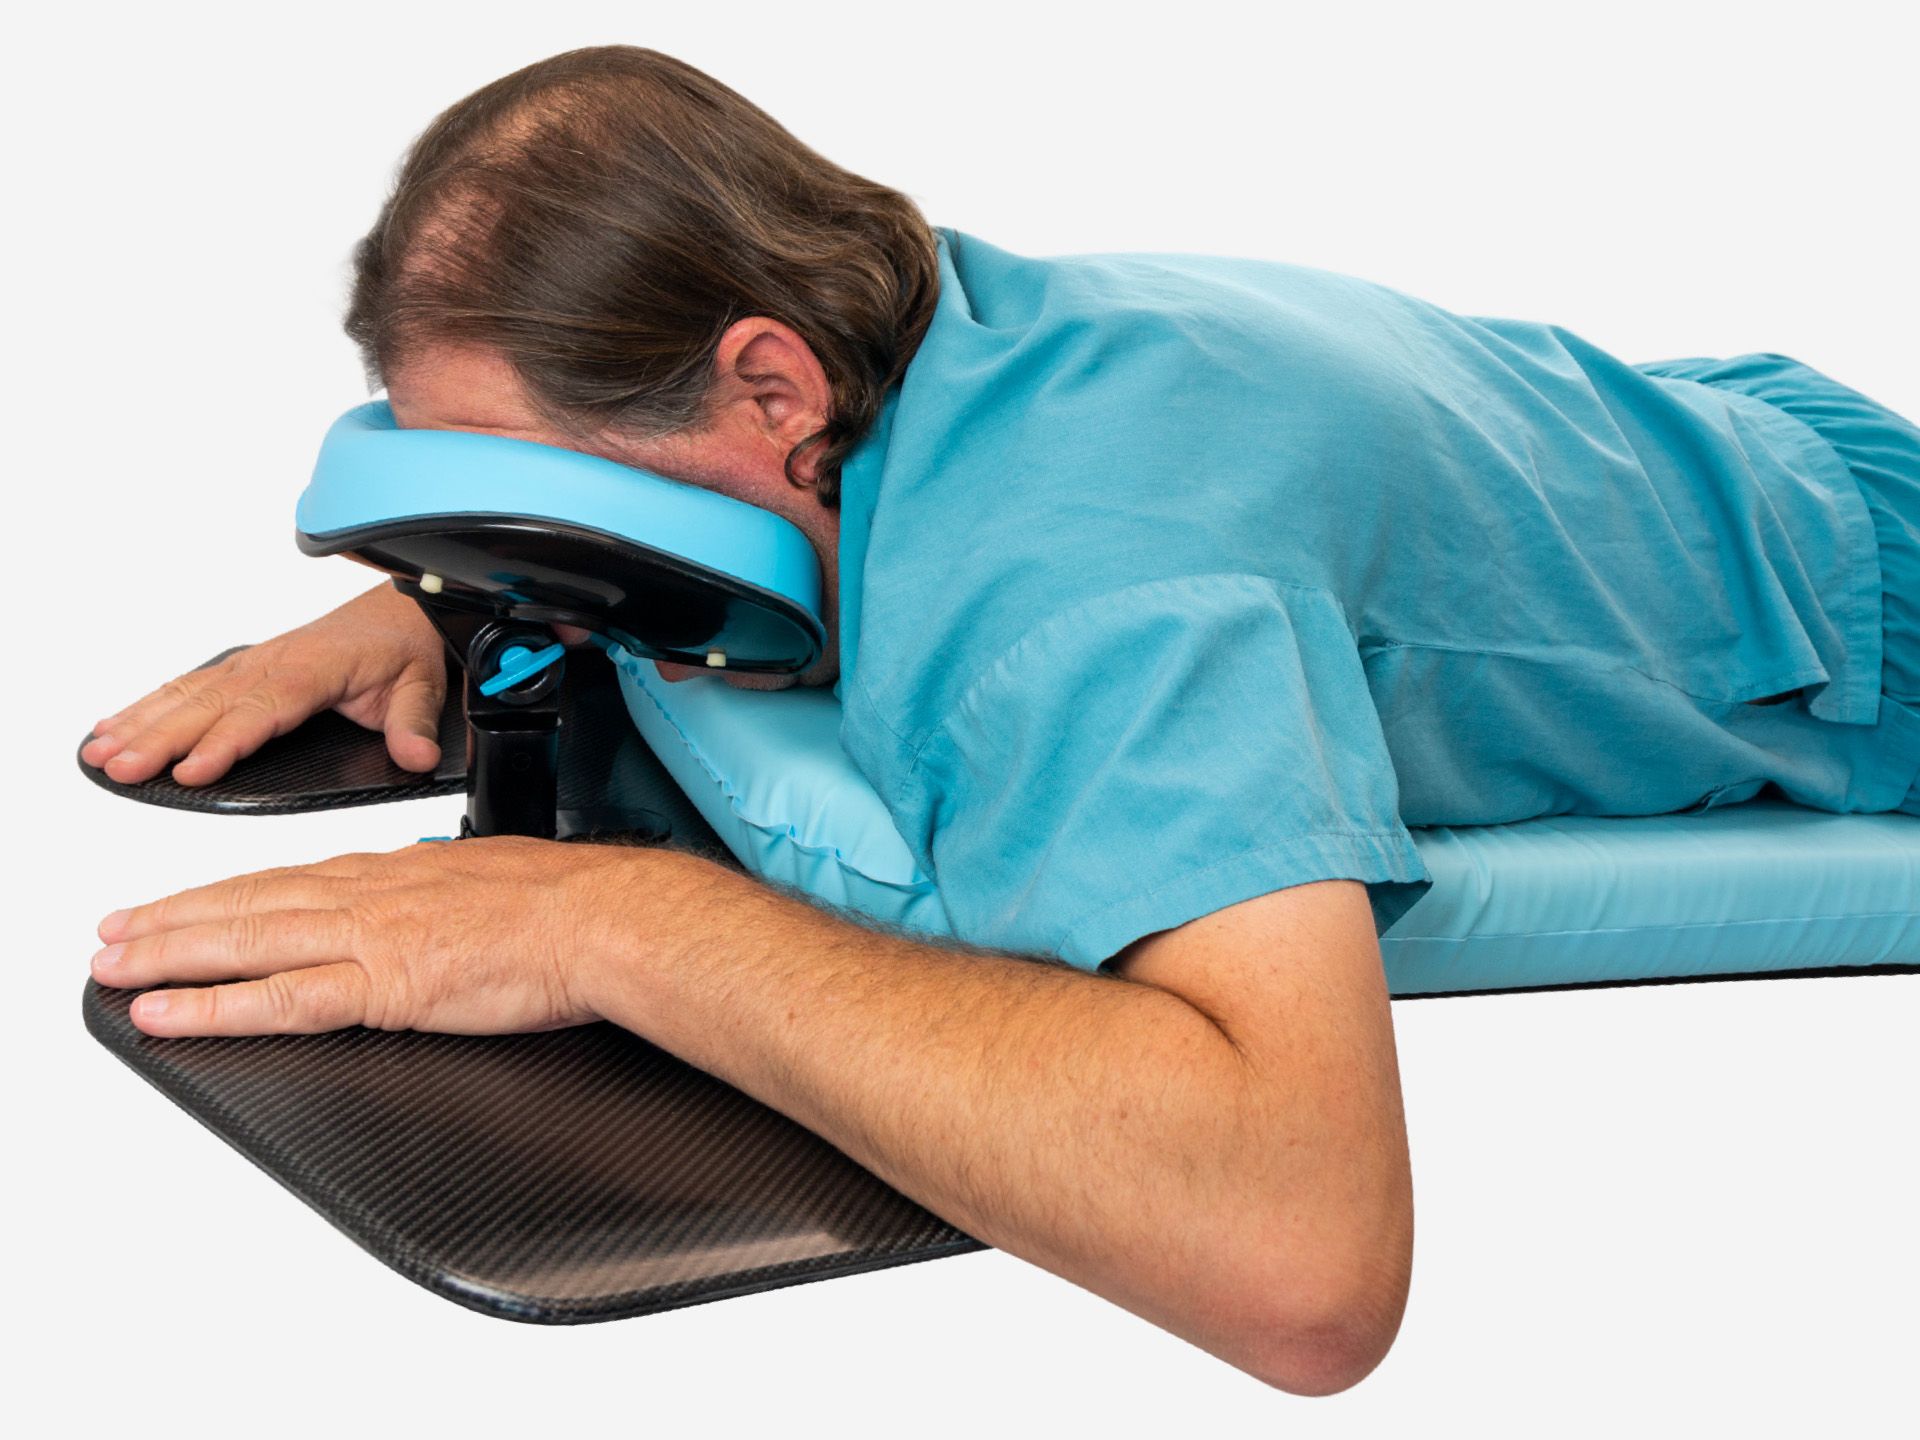
Ensure clearance around the patient's face
The Face Pad includes a central clearance to provide space for the patient's eyes, nose and mouth, supporting comfort and ease of breathing.
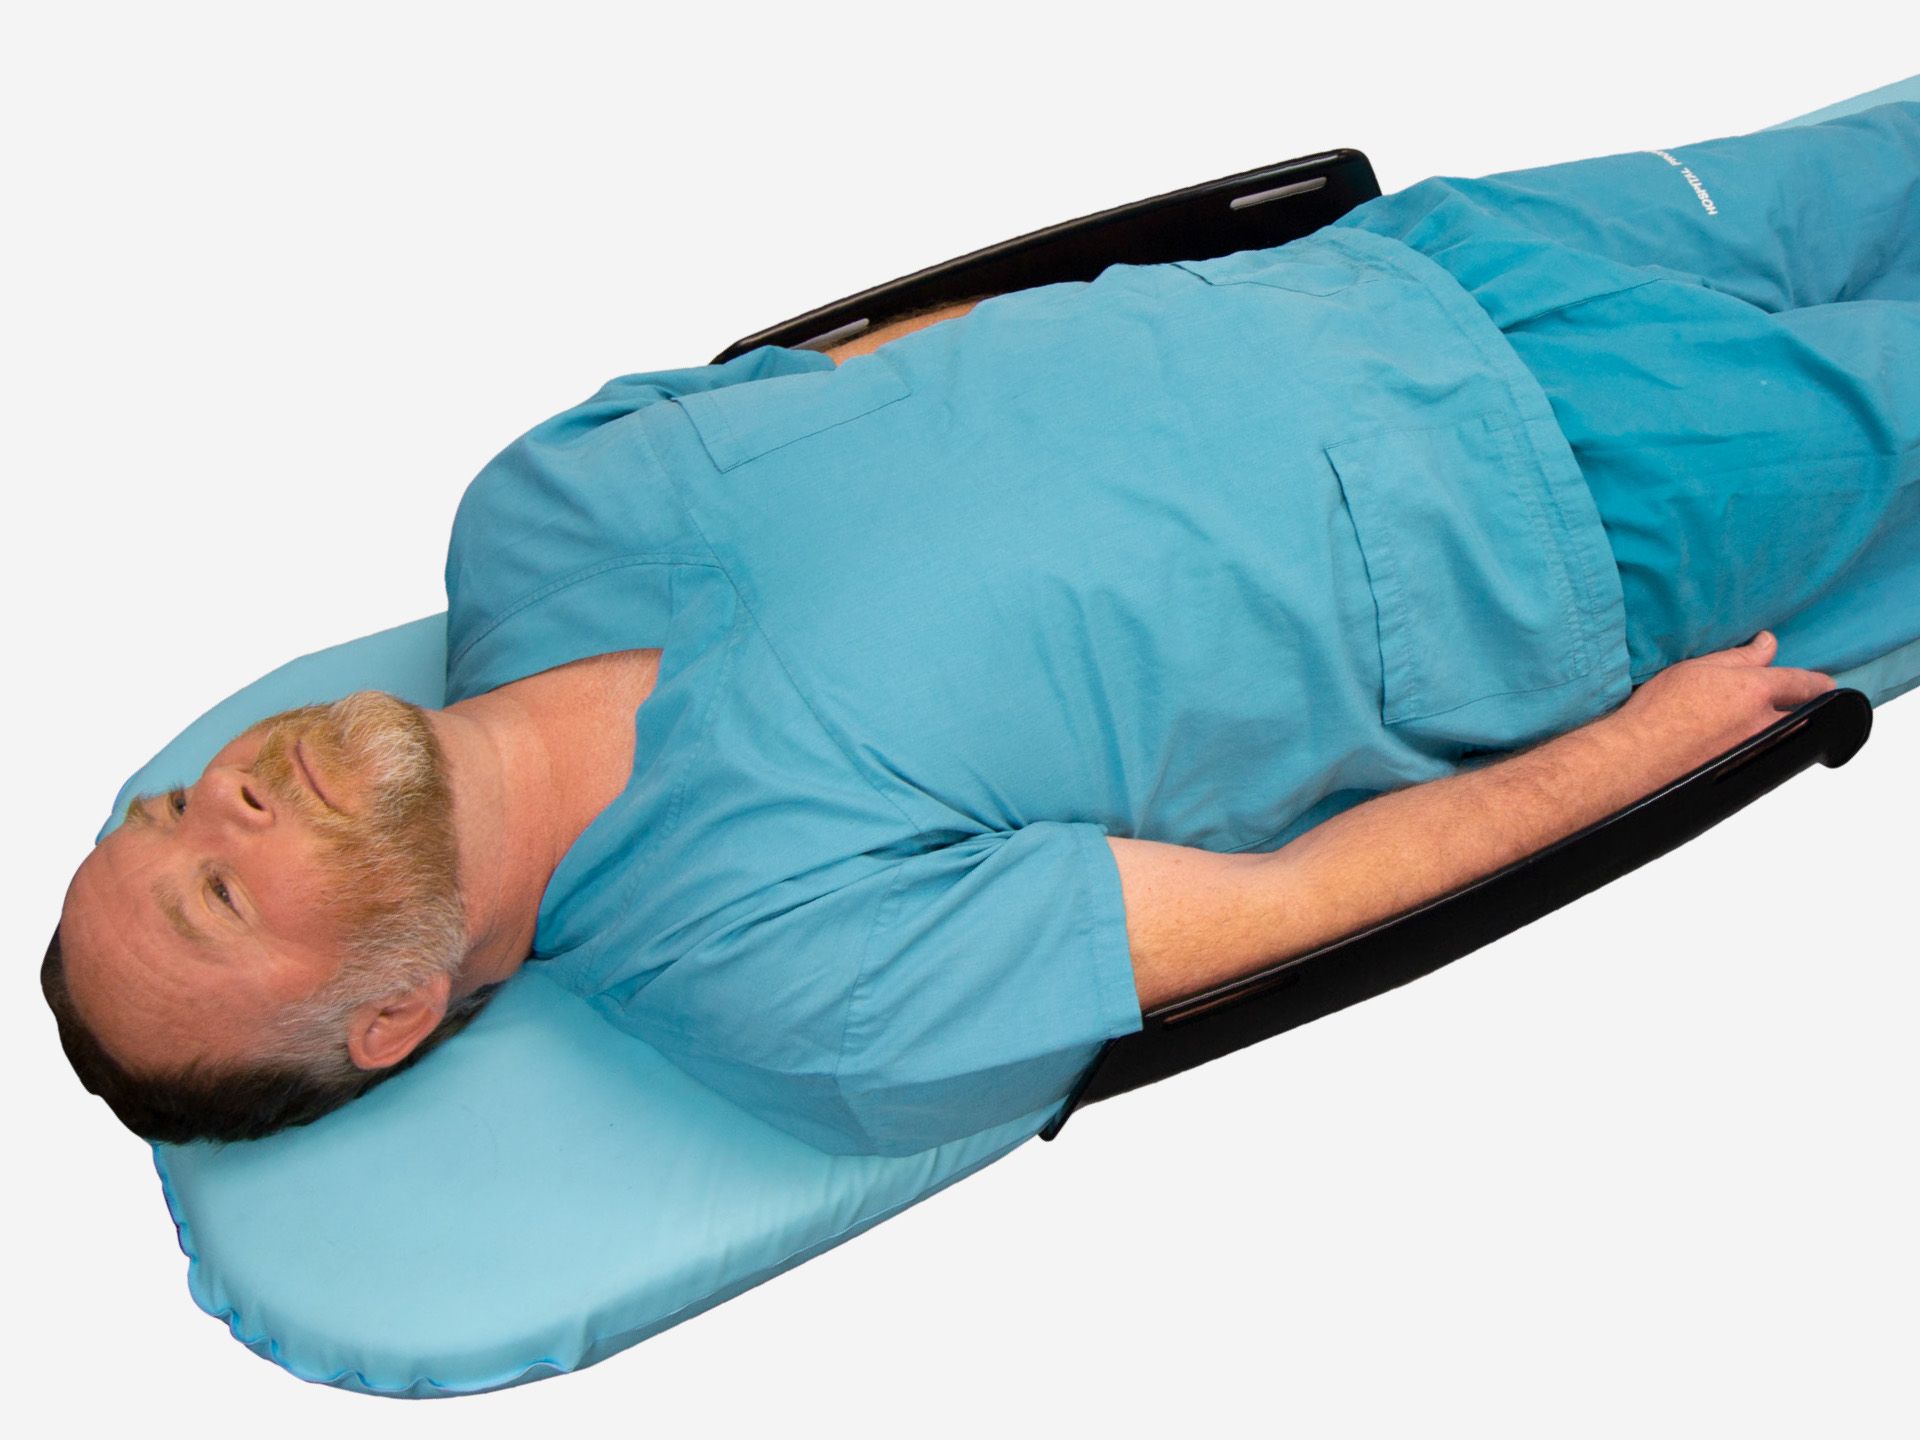
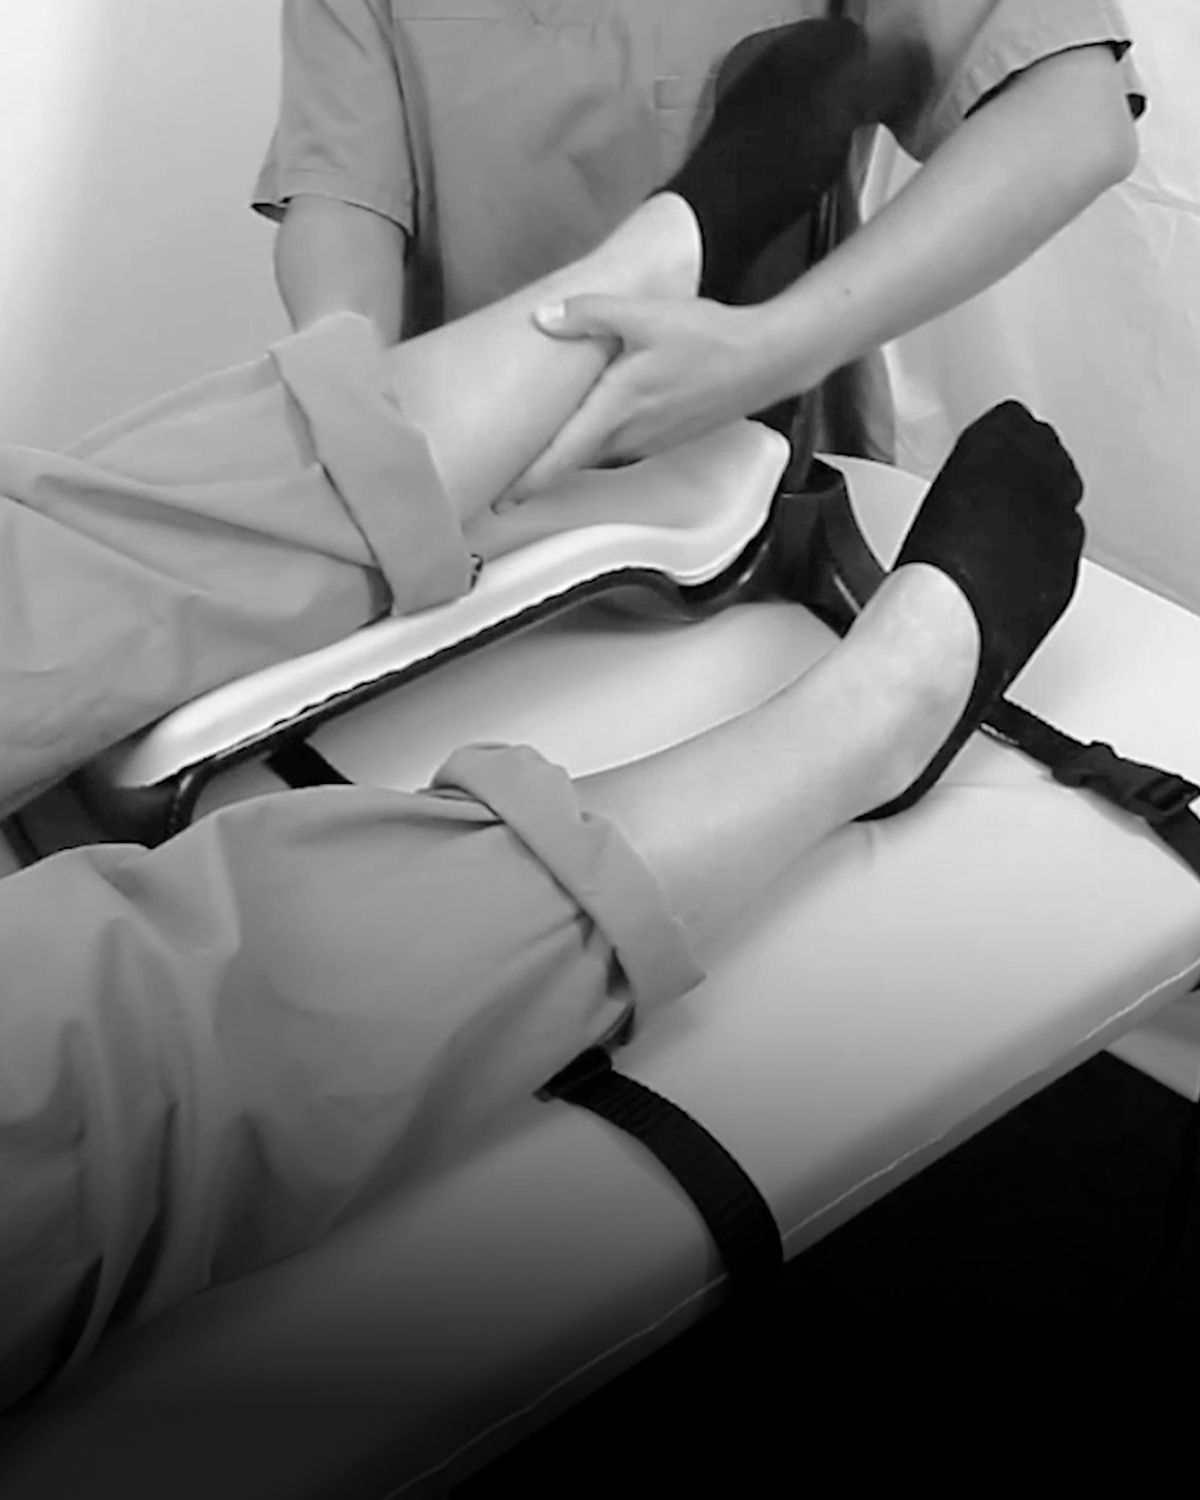
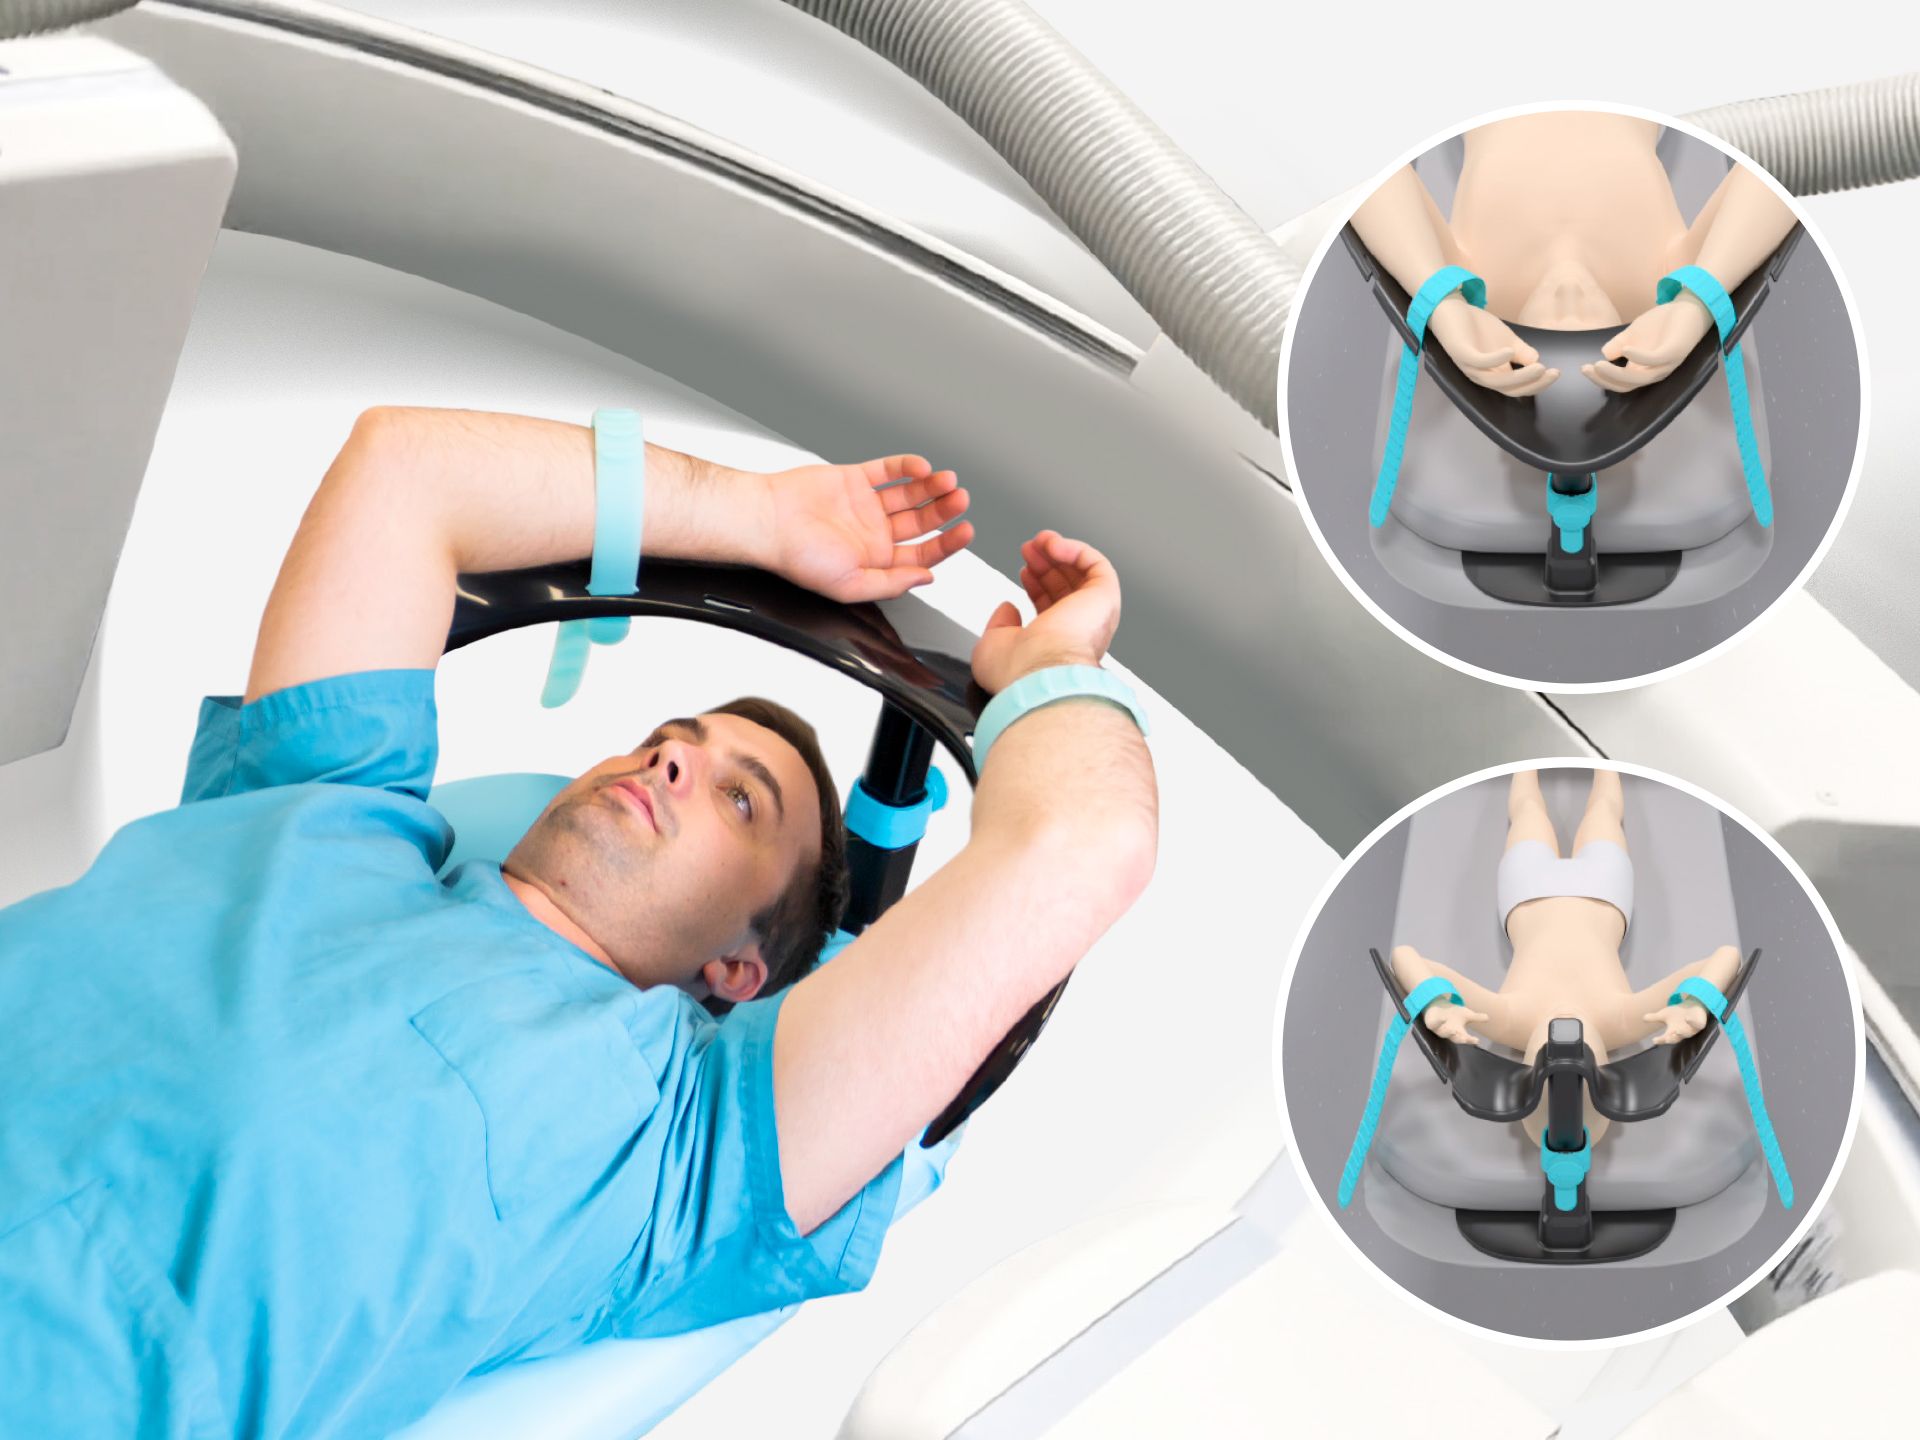
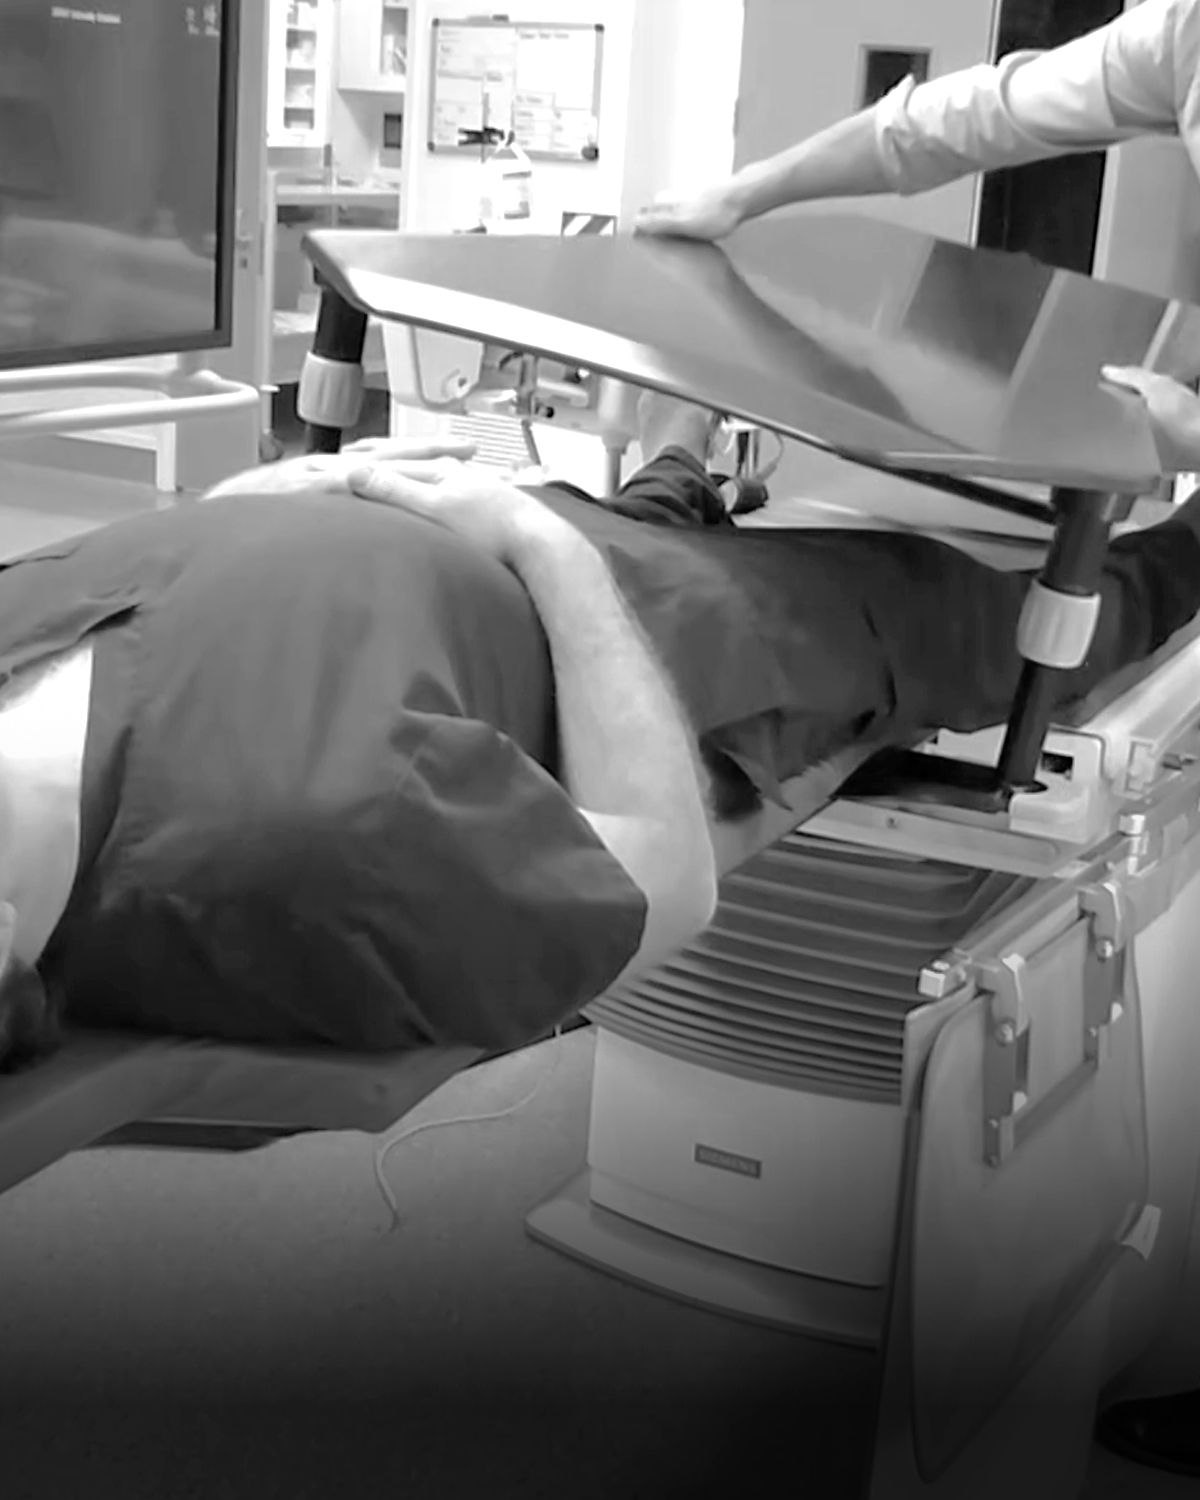
Ensure safe clearance beween the C-arm and the patient's hands and arms
Position the patient’s arms according to their mobility, taking care not to strain the shoulder joint. Do not leave the patient’s hands hanging outside the edge or under the Base Board, ensuring safe clearance from the C-arm.
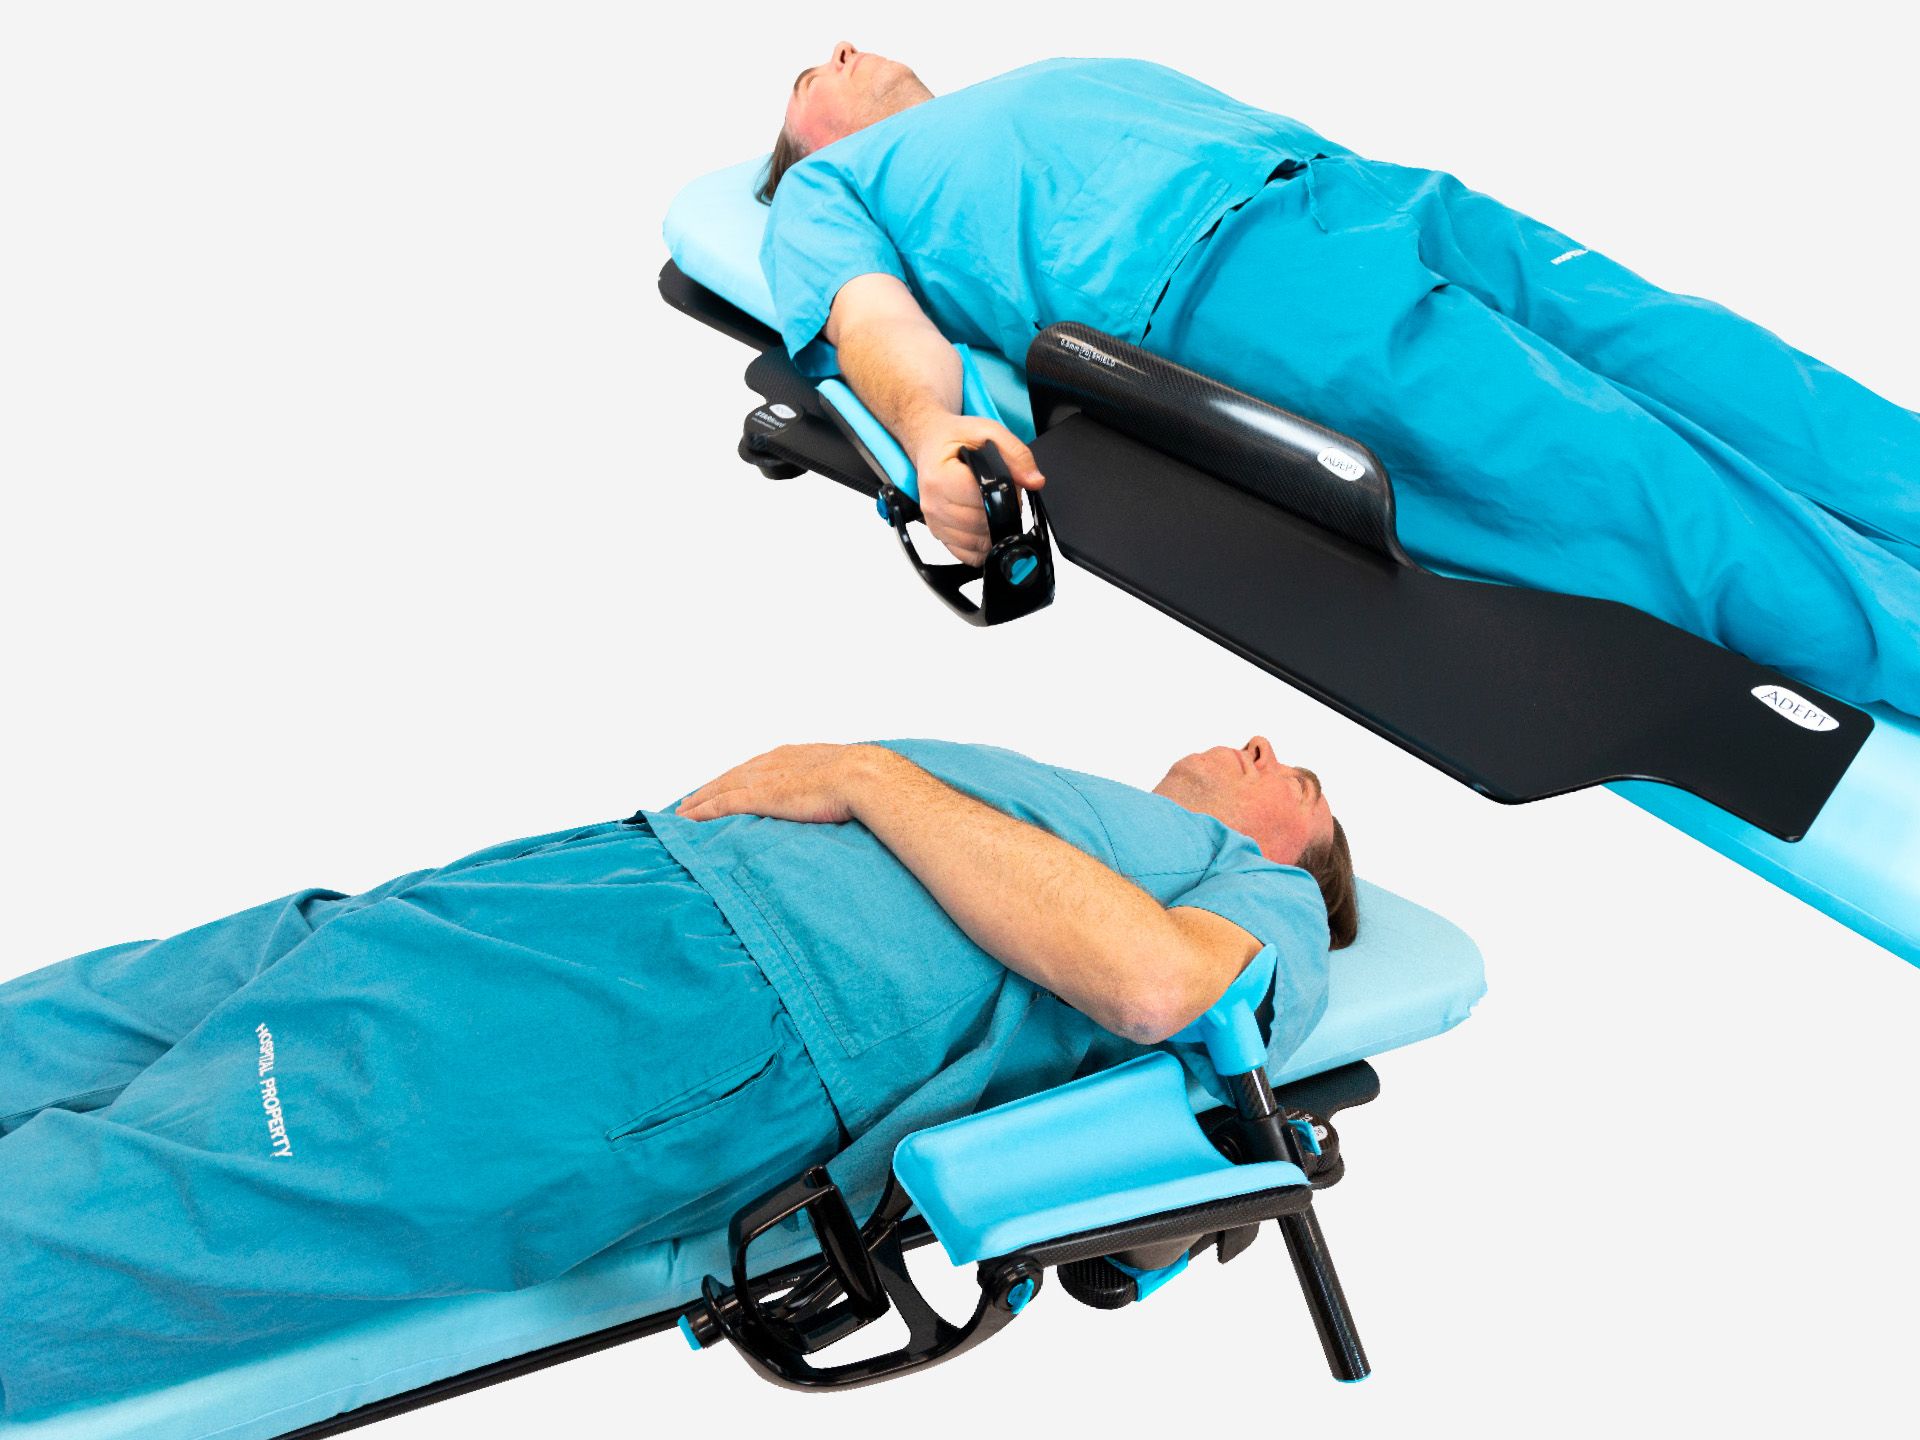
How to remove the device
Ensure the device is removed before moving the patient.
Multiple operators may be required to safely support the patient’s weight for ease of product removal, while a single operator slides the base board out from under the mattress.
Apply your local safety protocols to ensure patient safety. The product is not fixed to the imaging table and may dislodge when unsupported by patient weight.
Elevating the torso for kyphotic patients
To accommodate Kyphosis of the spine consider placing pillows under the patient’s torso to elevate. Adjust the adjustable assembly height and face pad support angle if necessary. For extreme cases you may need to remove Head support completely and use only pillows.
How to store the device?
For a simple hanging solution, use the Storage System, a custom-designed, space-saving storage solution for the Adept Medical suite.