


Lower Leg Support
Lower Leg Support Training
Codes: AM3000How to use Lower Leg Support
How to assemble the Lower Leg Support
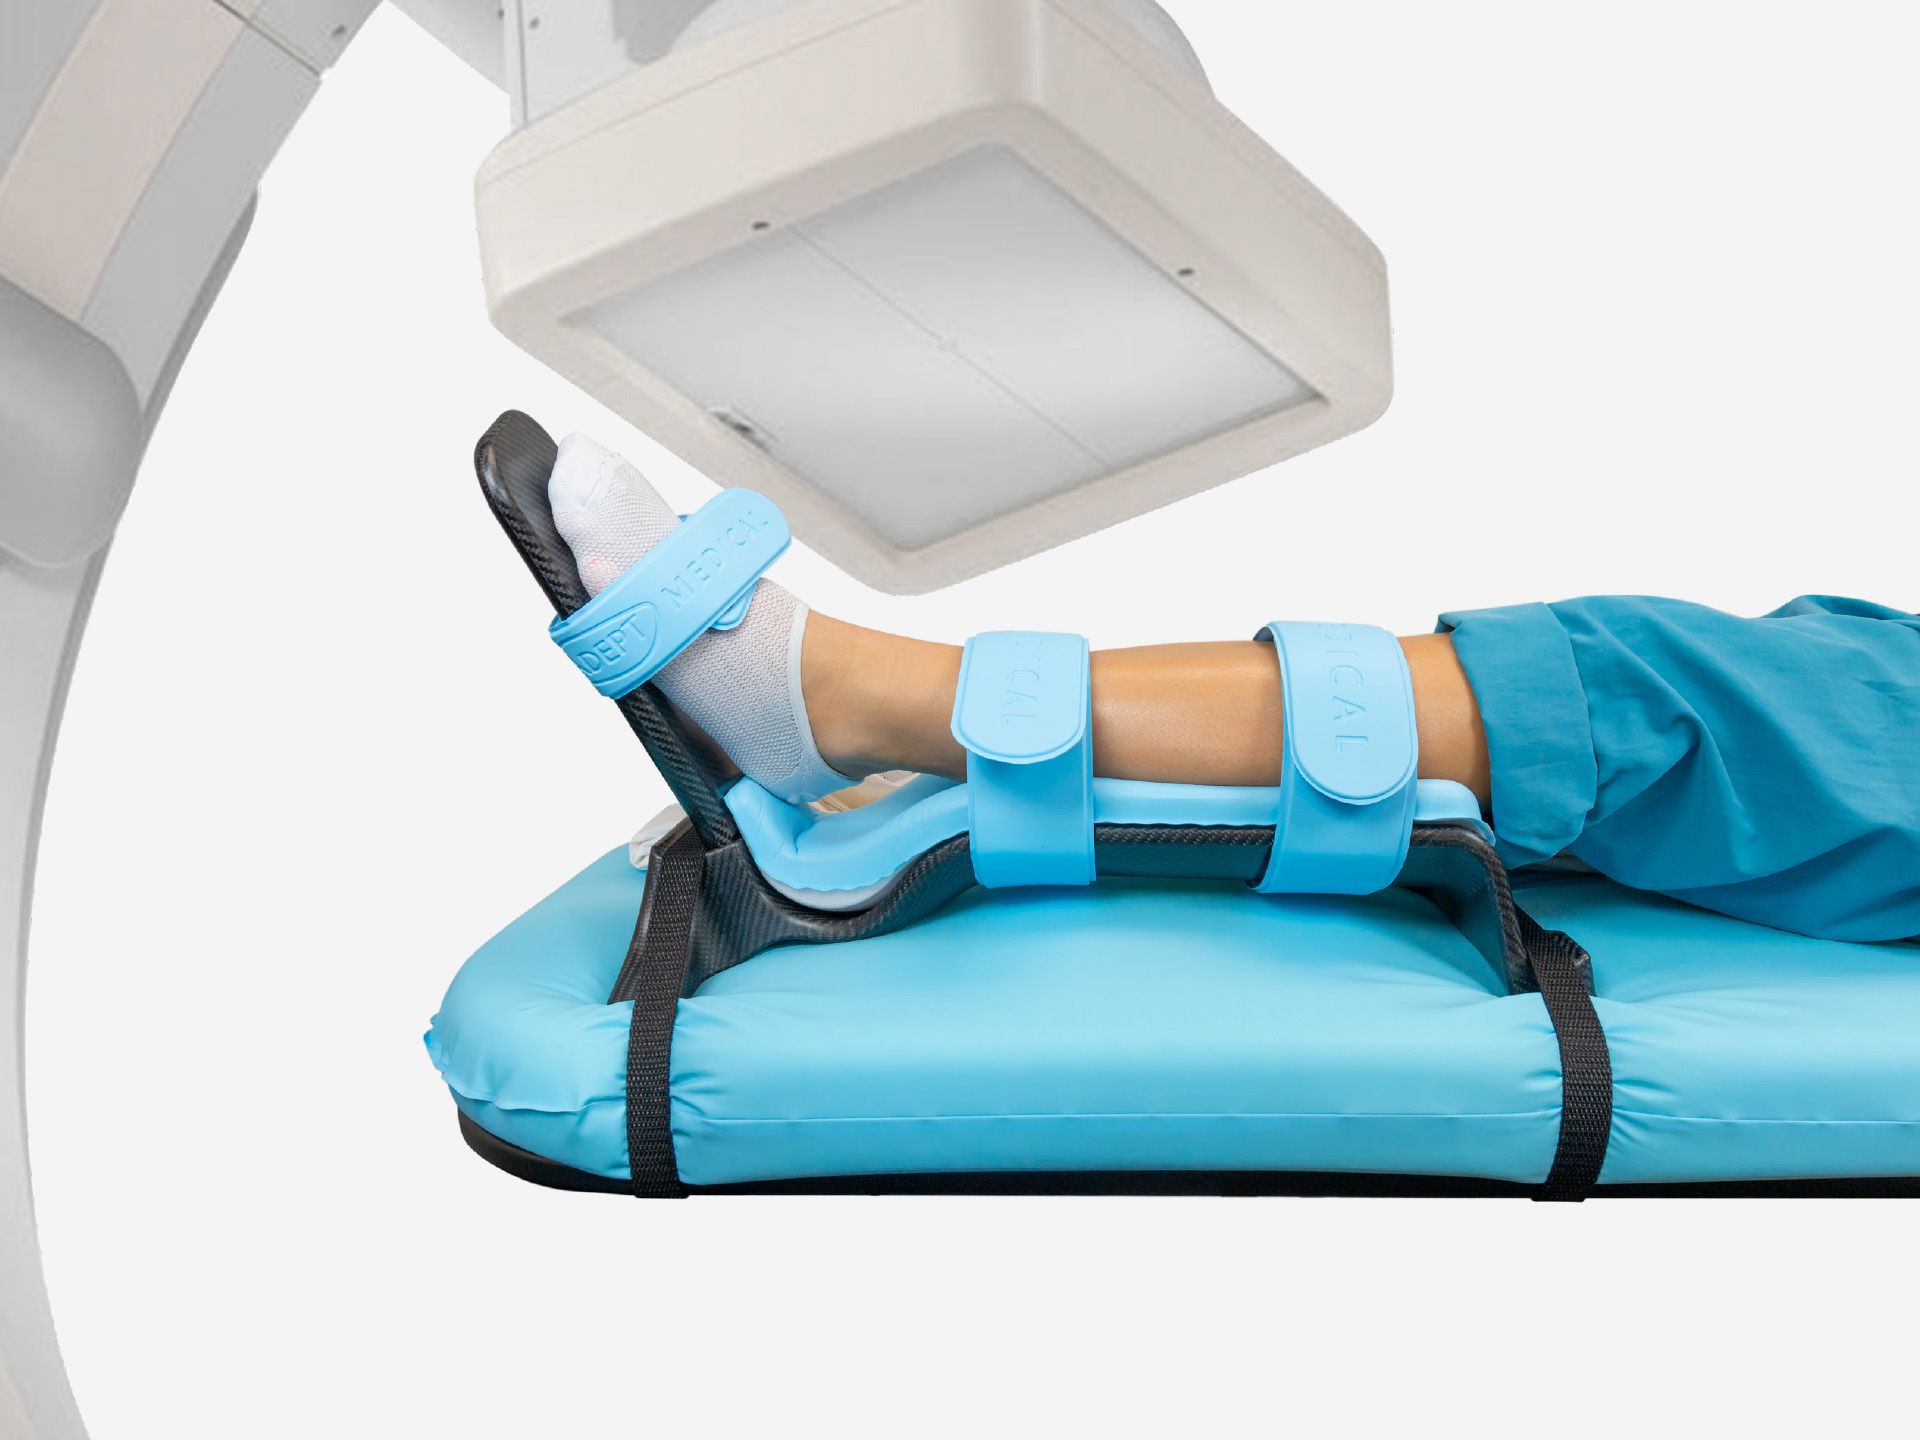
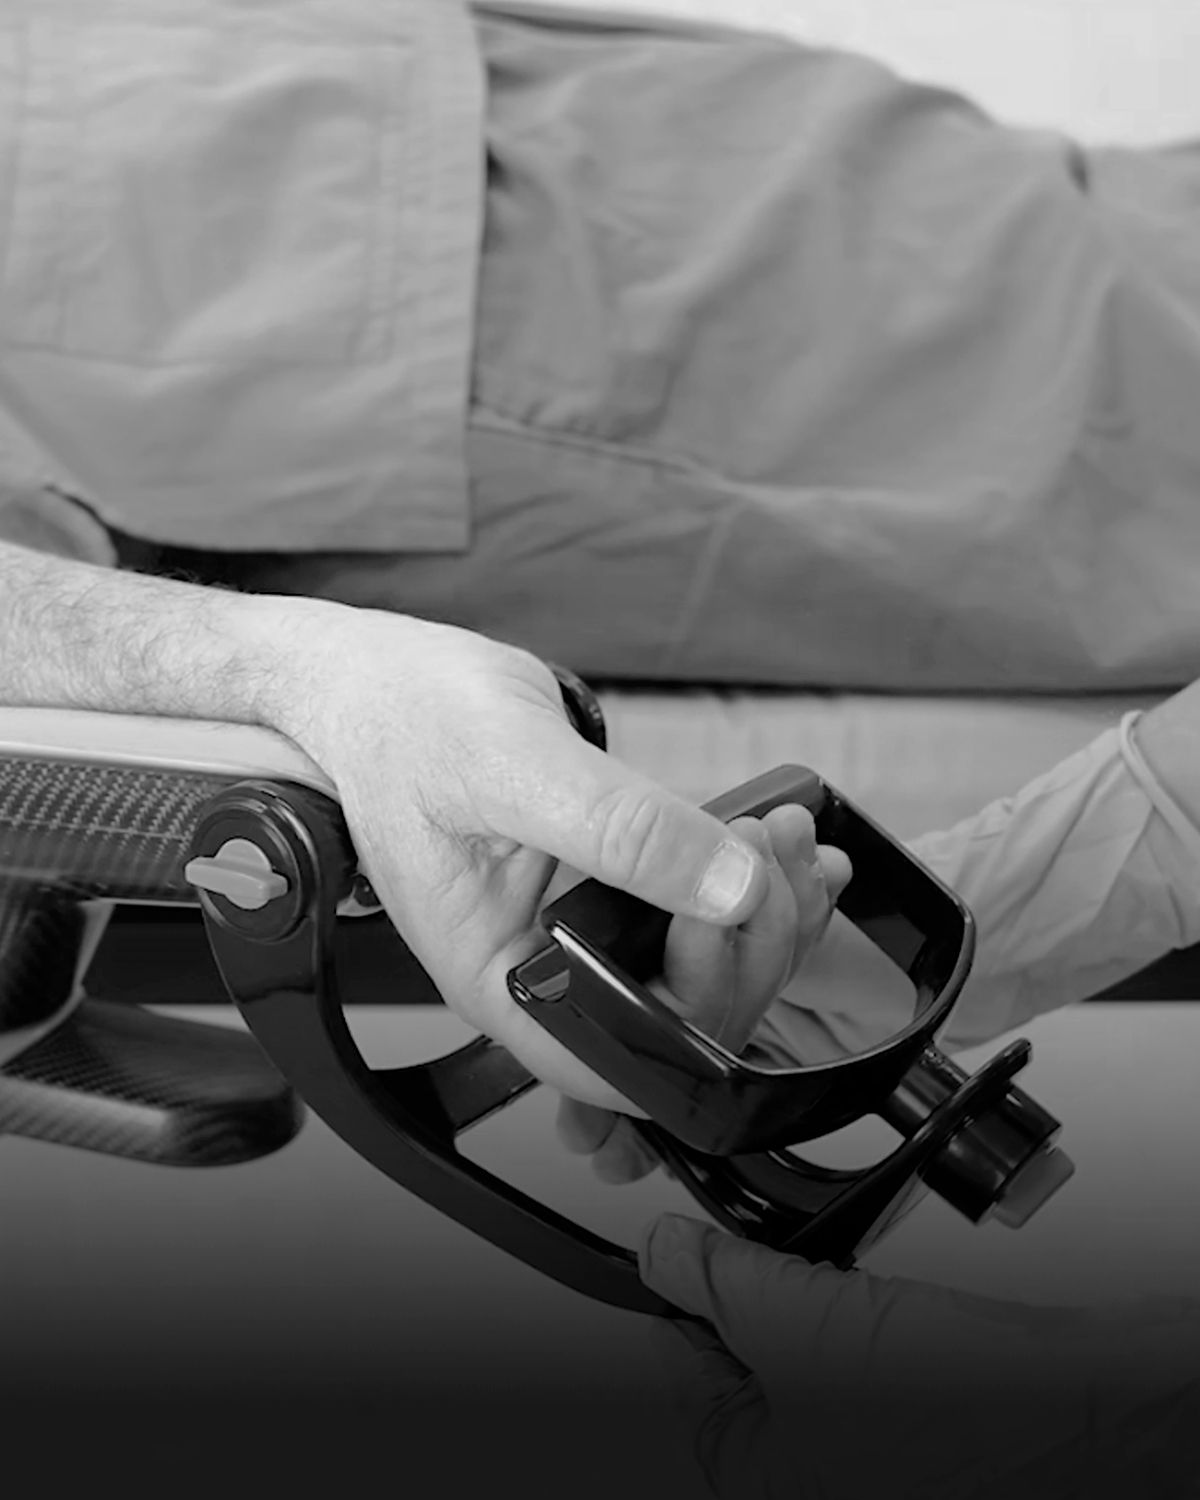
Insert the foot plate into the slot at the bottom of the device and push down firmly to secure it. Position the foot plate facing left for the left foot, or right for the right foot.
Place the leg pad on the leg support, ensuring the shape aligns with the contour of the carbon fibre piece. The vertical heel protection on the pad should sit on top of the foot plate.
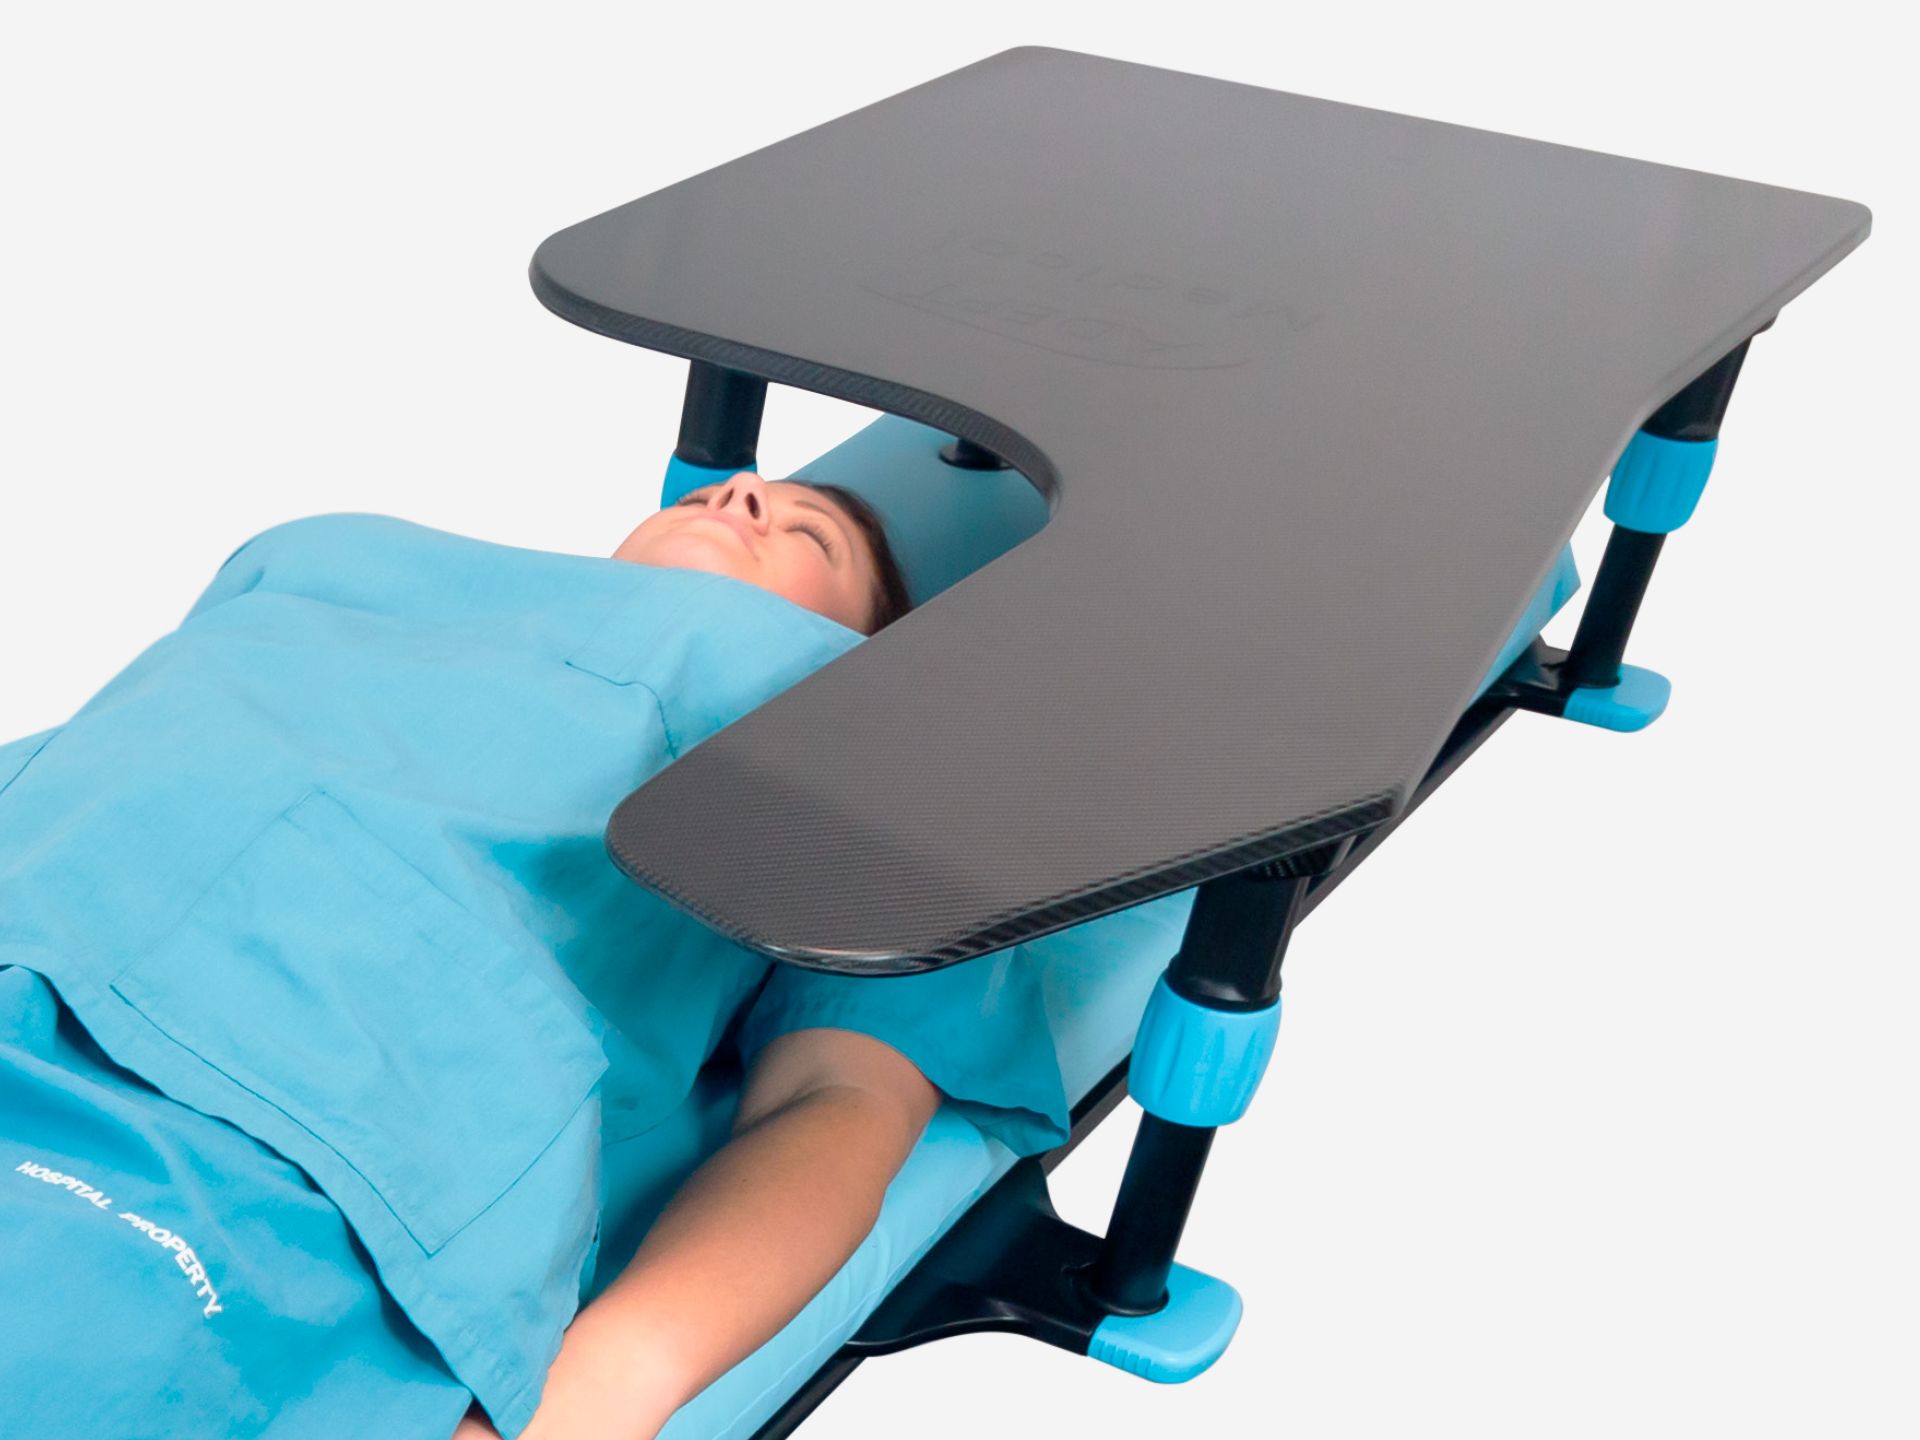
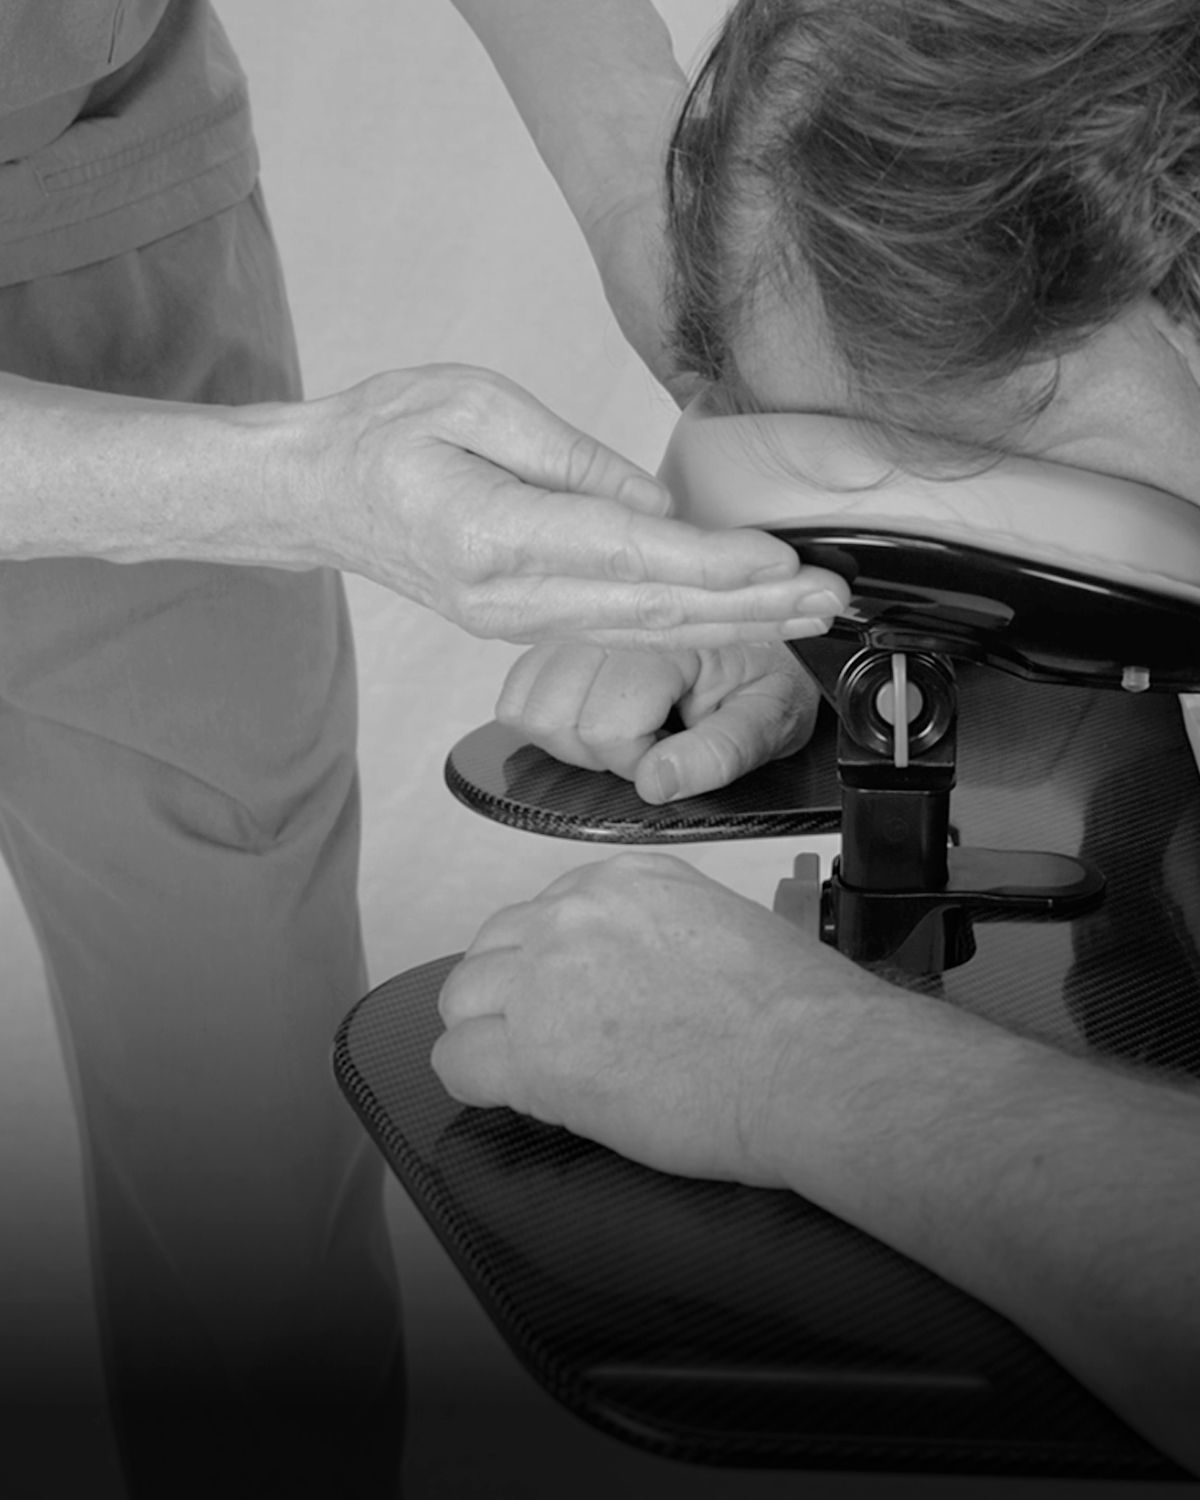
How to set up the device and position the patient leg
Ensure the side-release clip buckles on the table straps face the side opposite the leg being worked on, with the webbing running off the table edge.
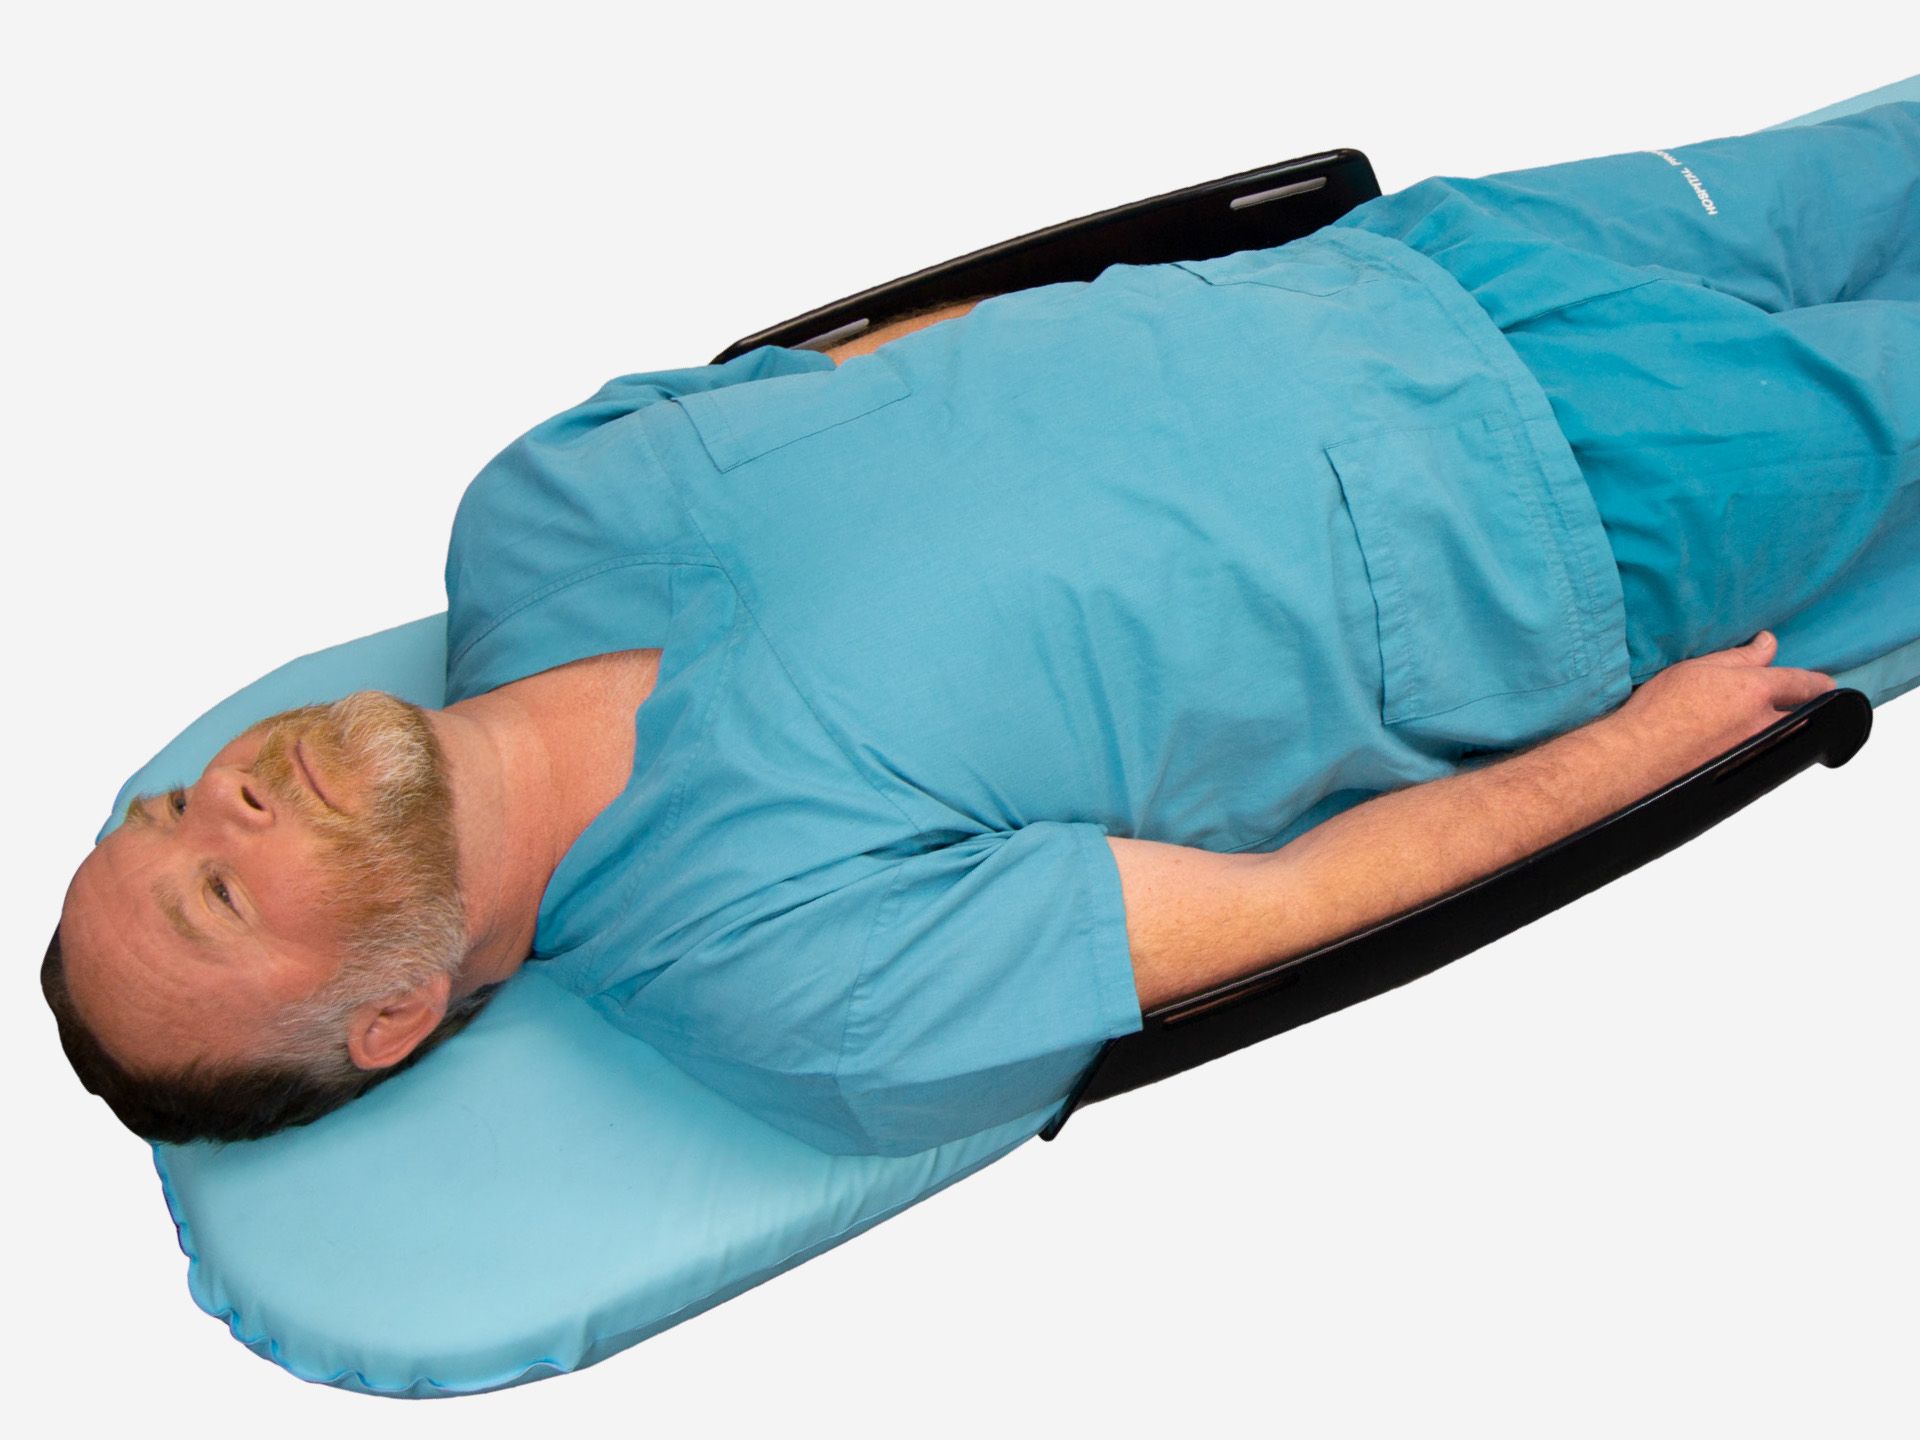
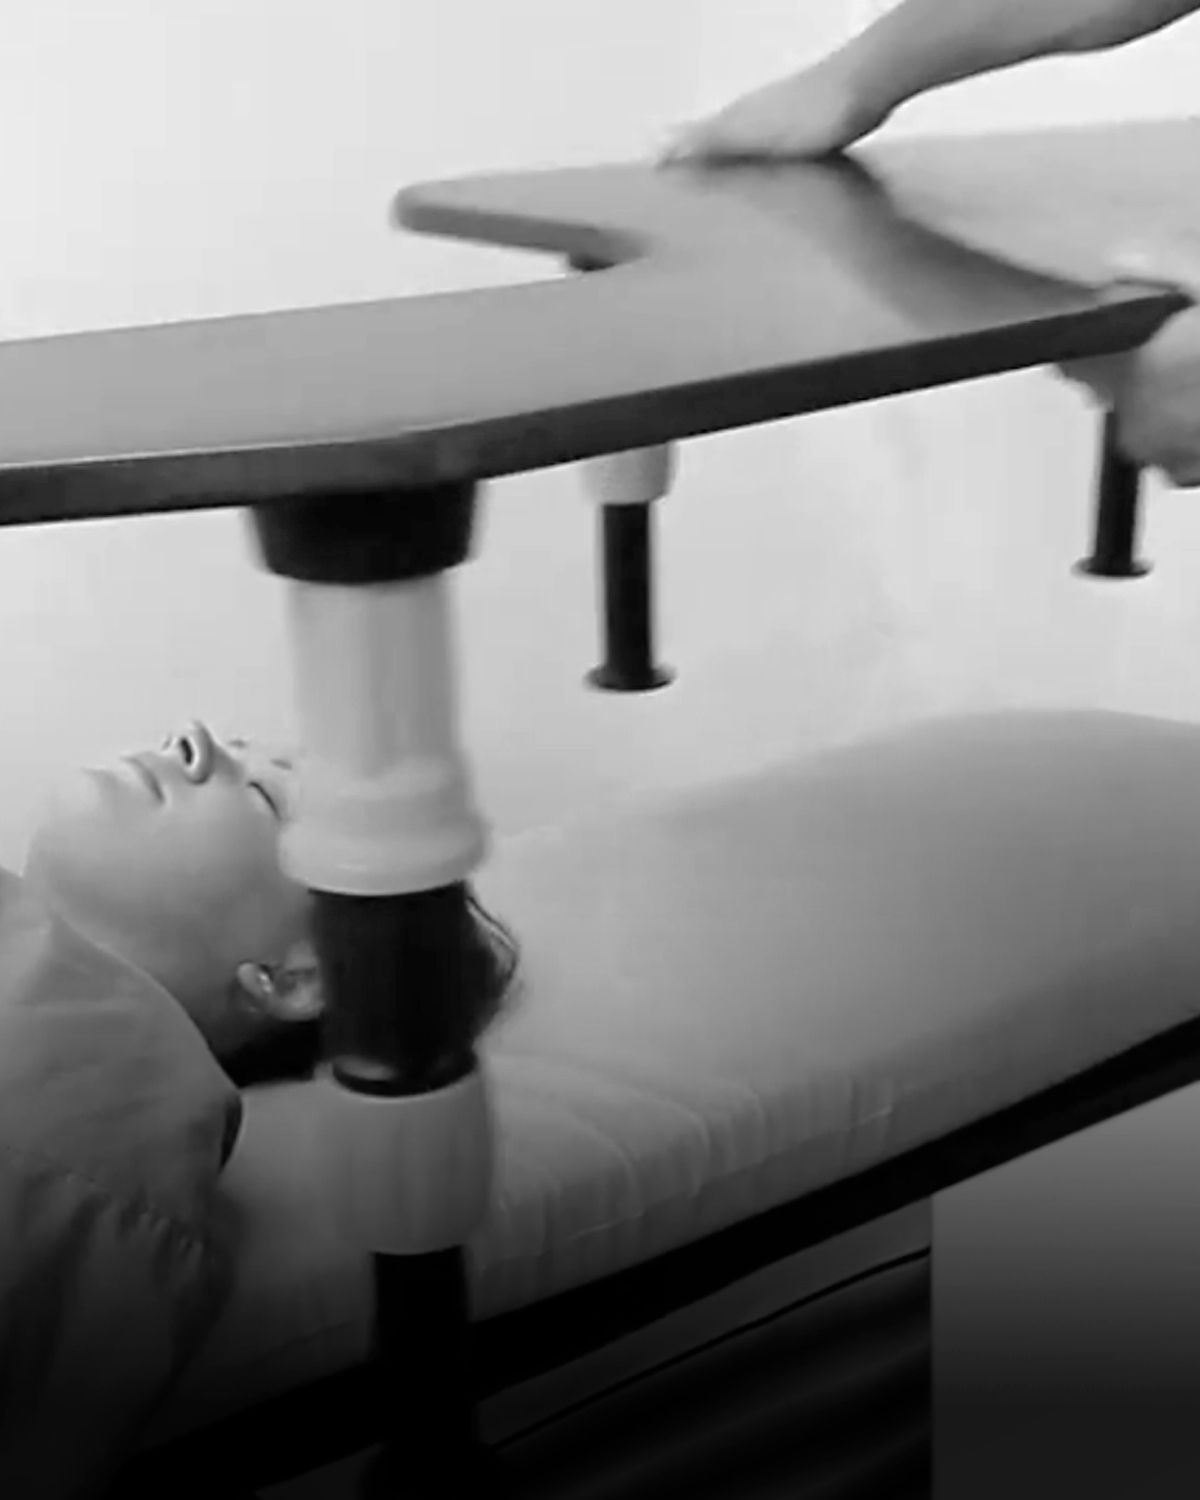
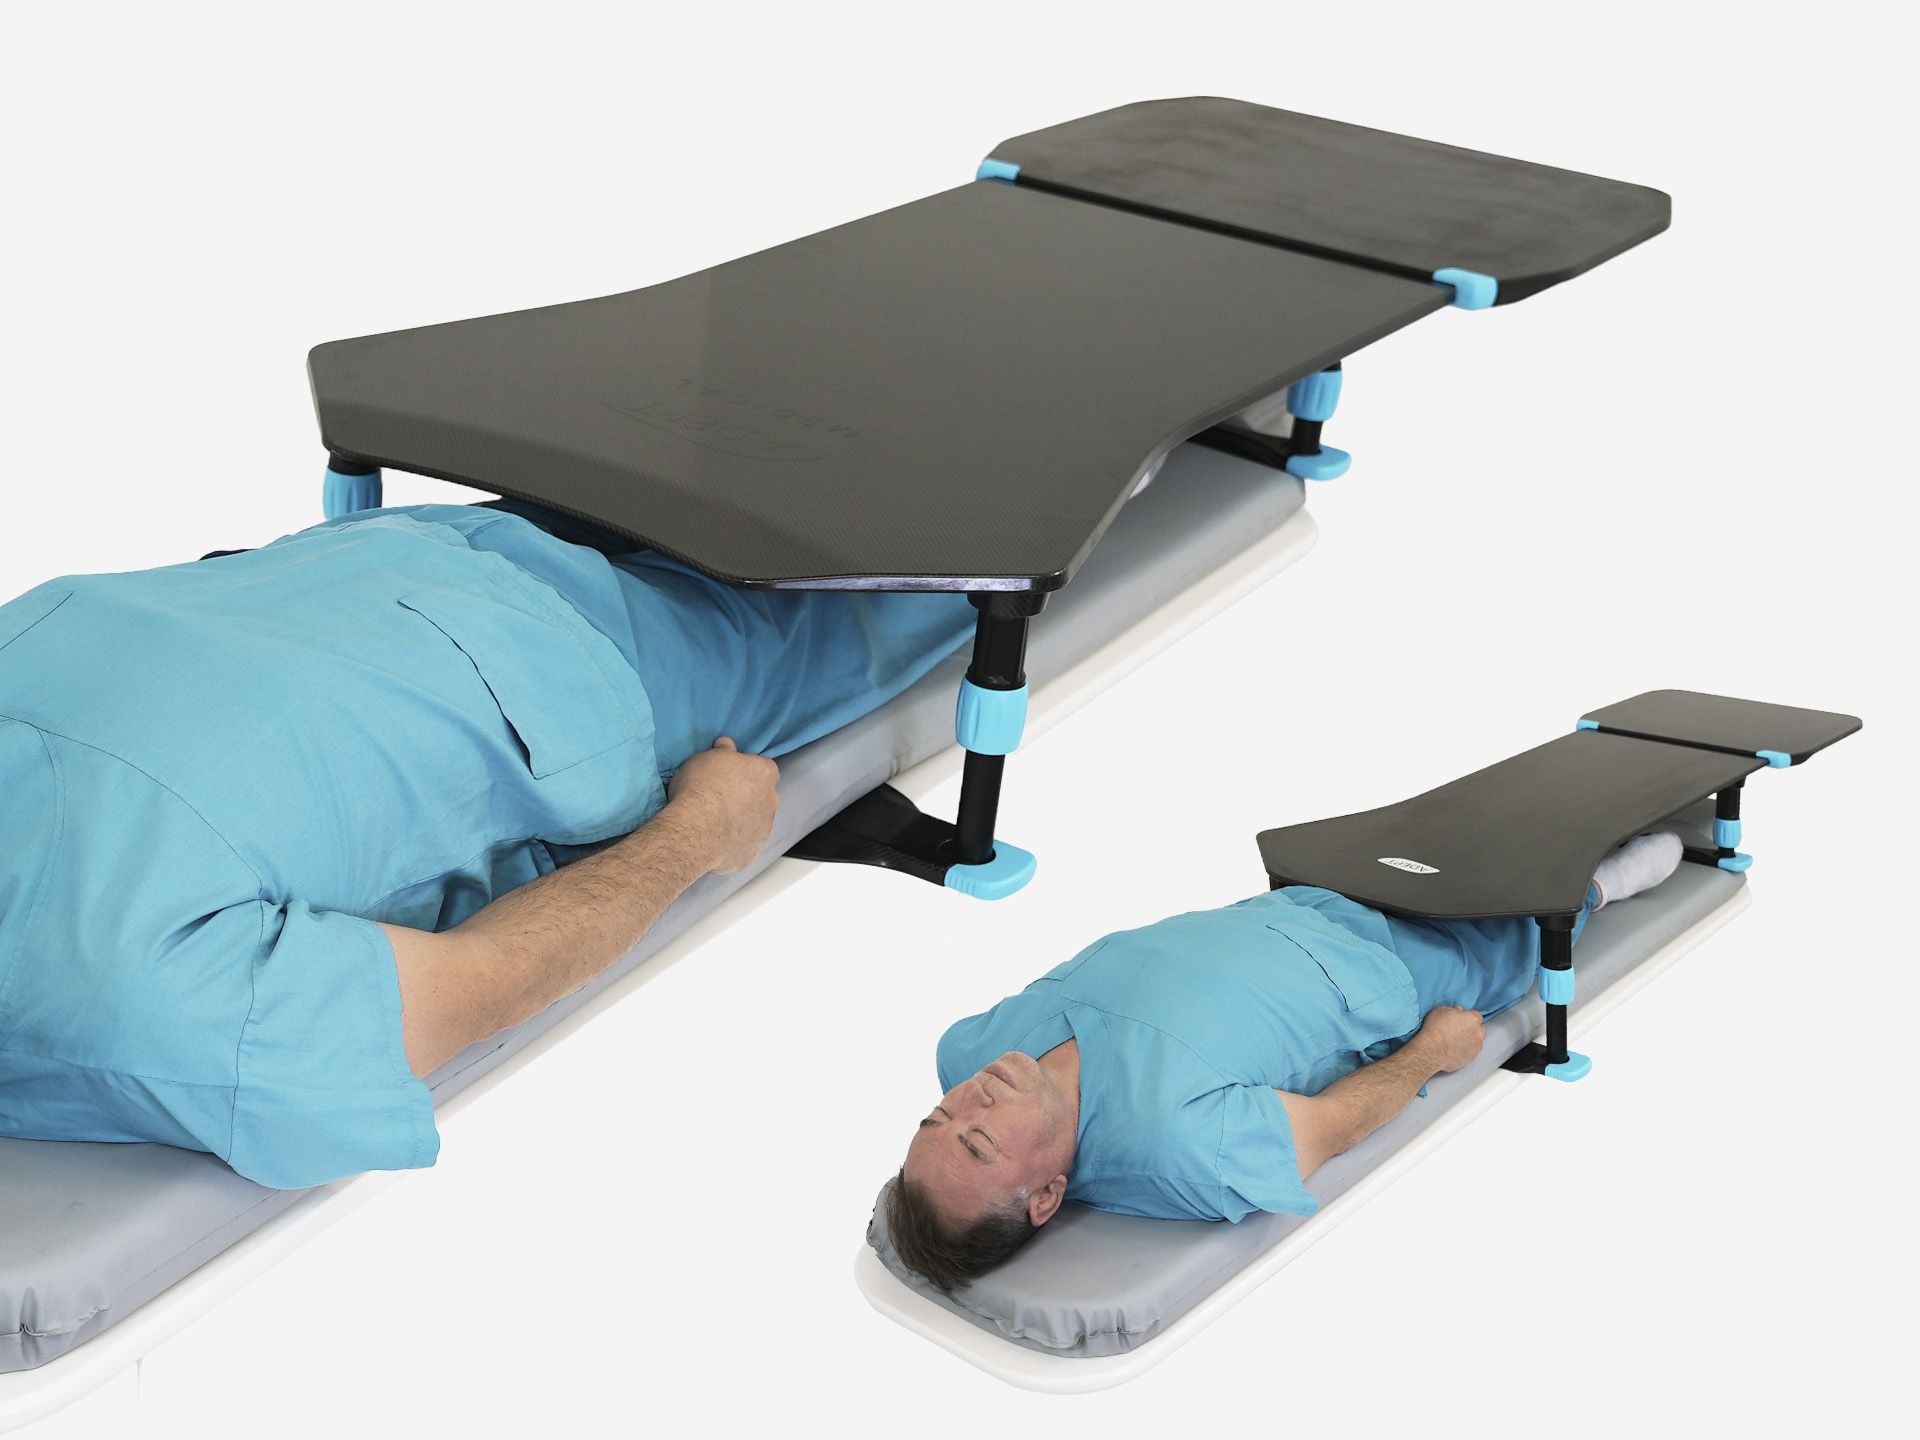
Secure one table strap near the bottom of the narrow end of the table and position the second strap approximately 500mm above it. Place the patient on the imaging table in a suitable orientation for an antegrade approach. Position the patient with the ankle by the bottom table strap and the knees by the top strap. Once positioned, place the Lower Leg Support on the table.
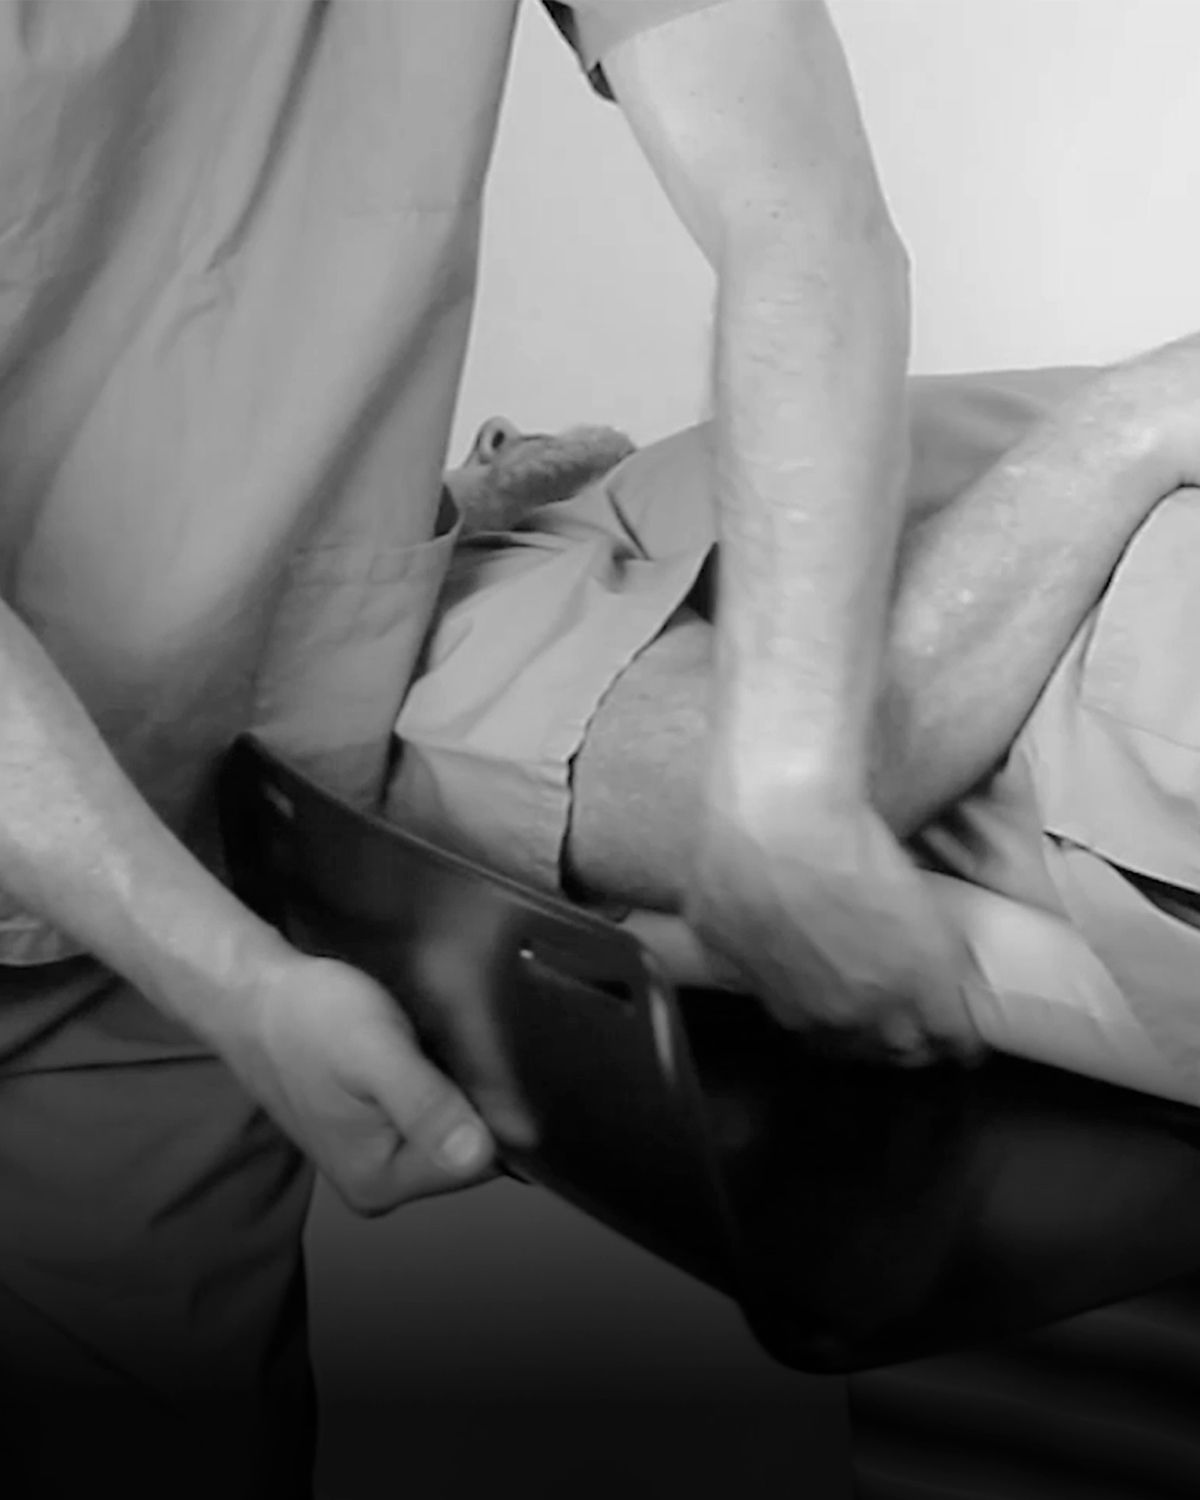
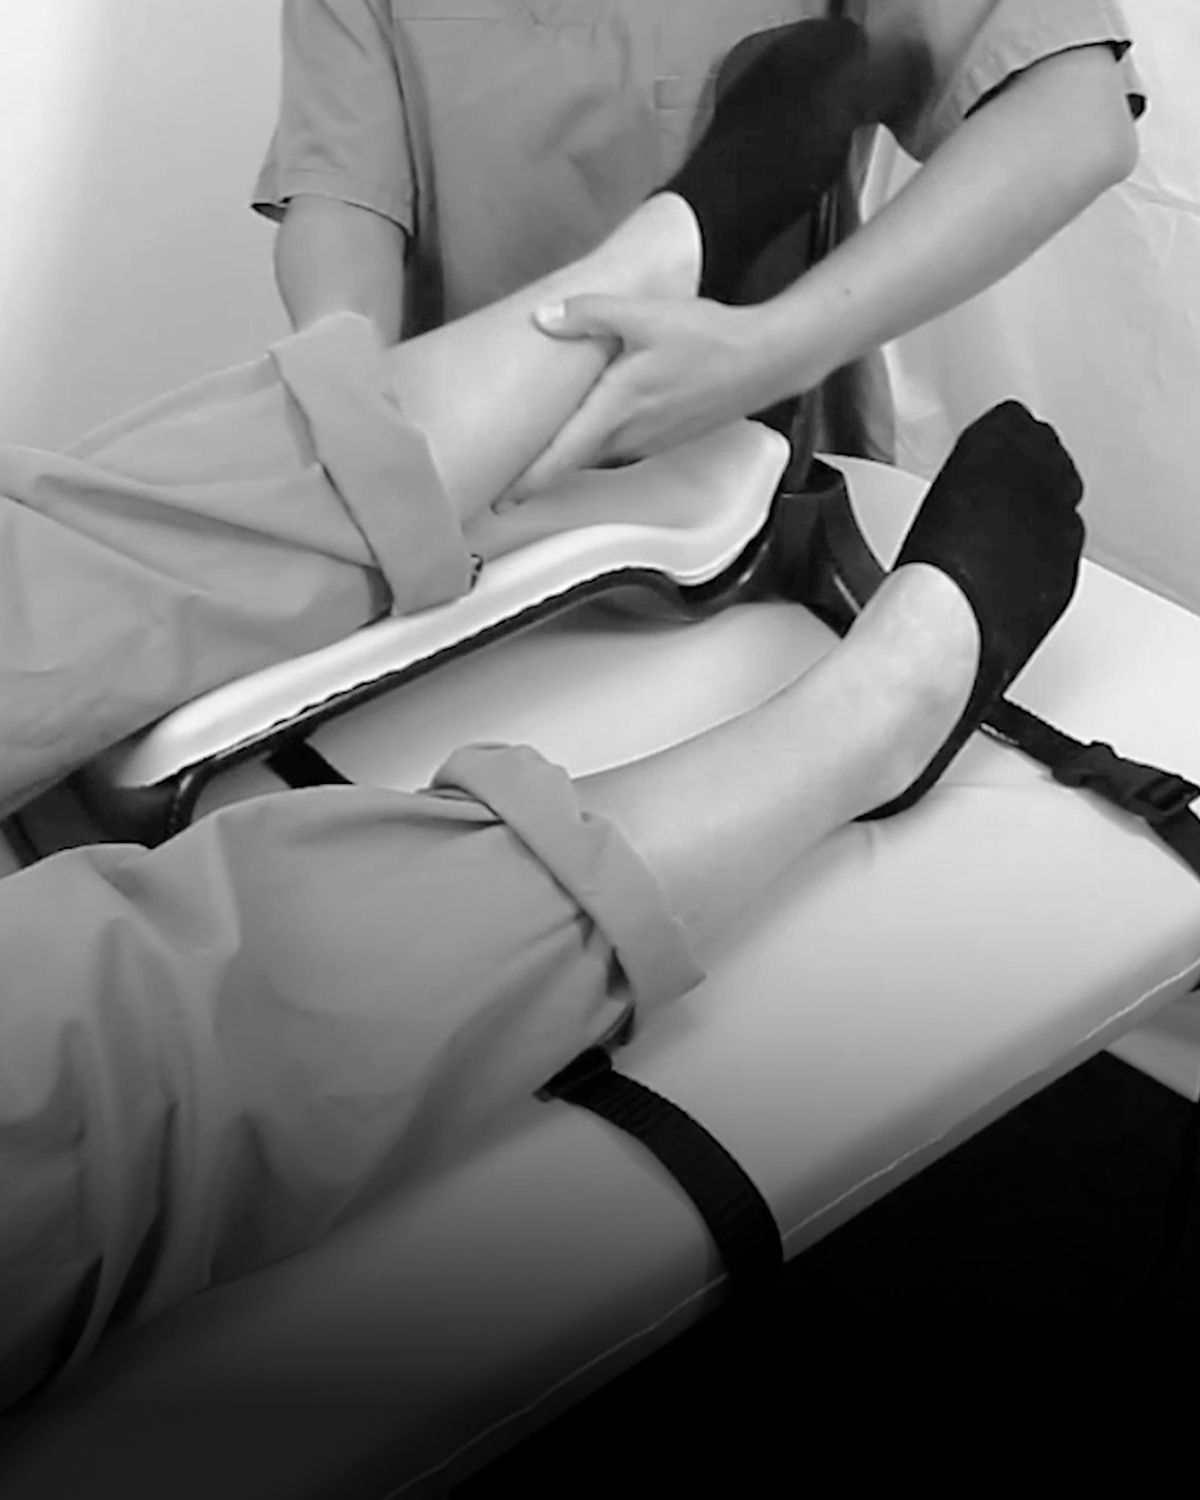
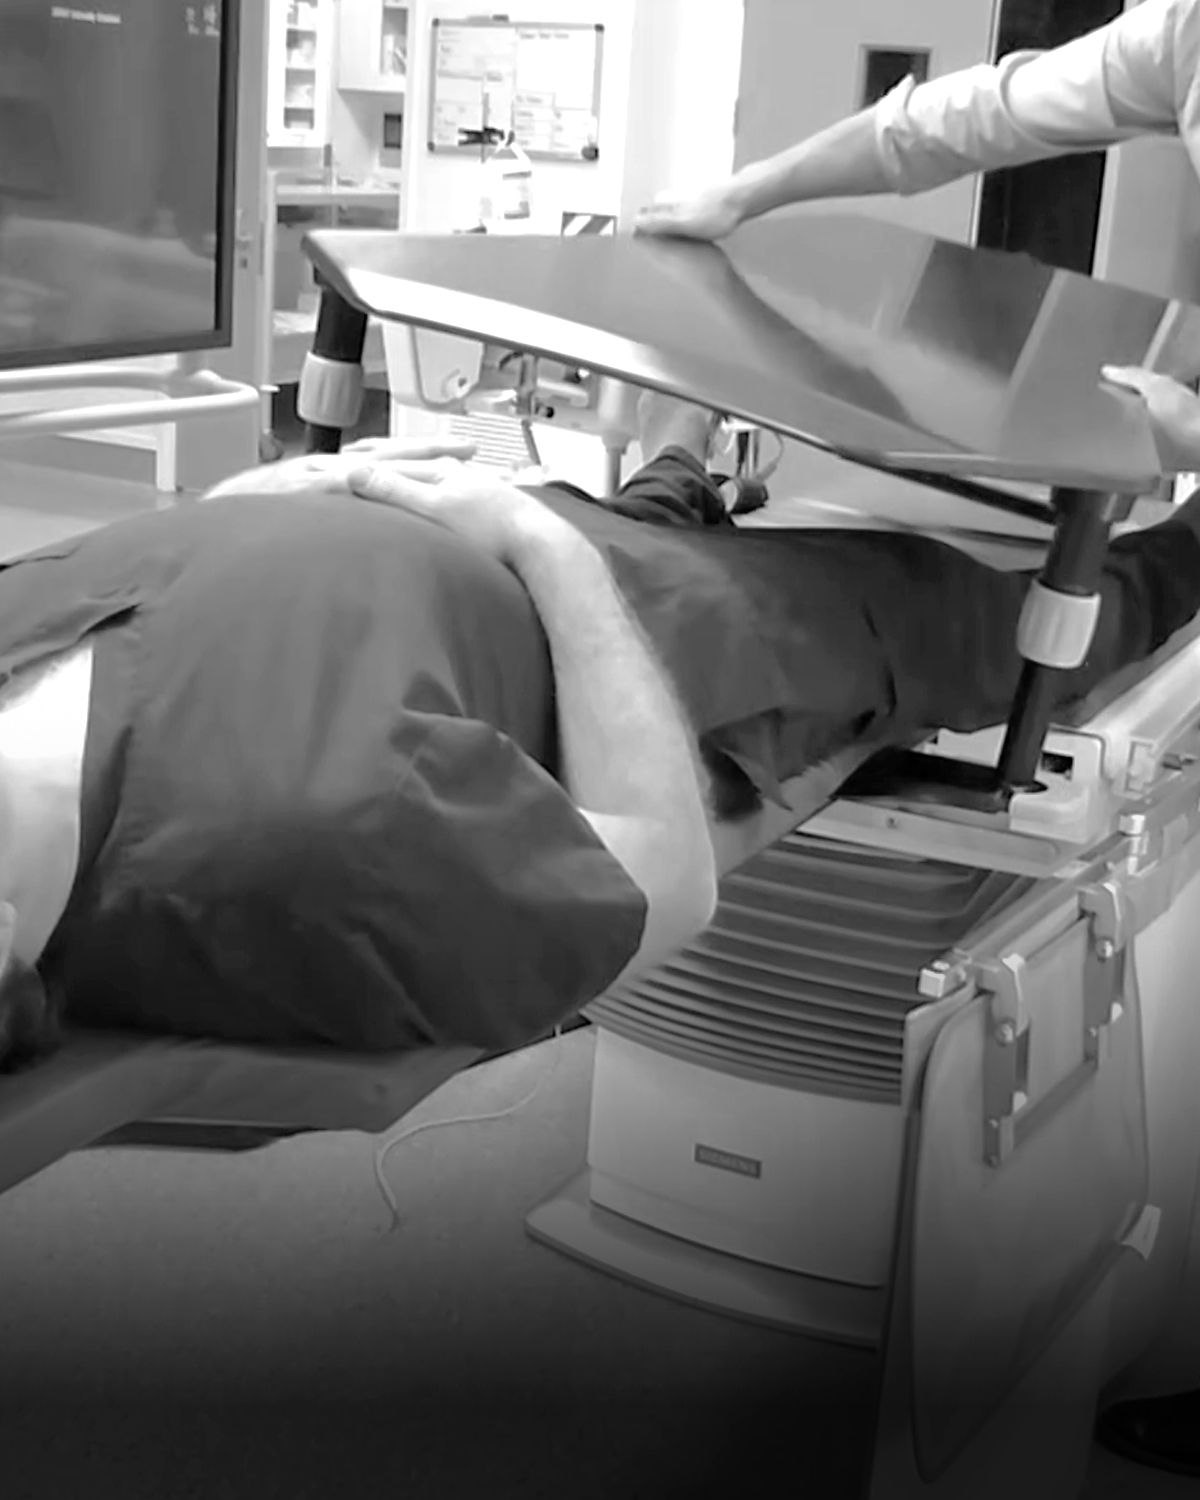
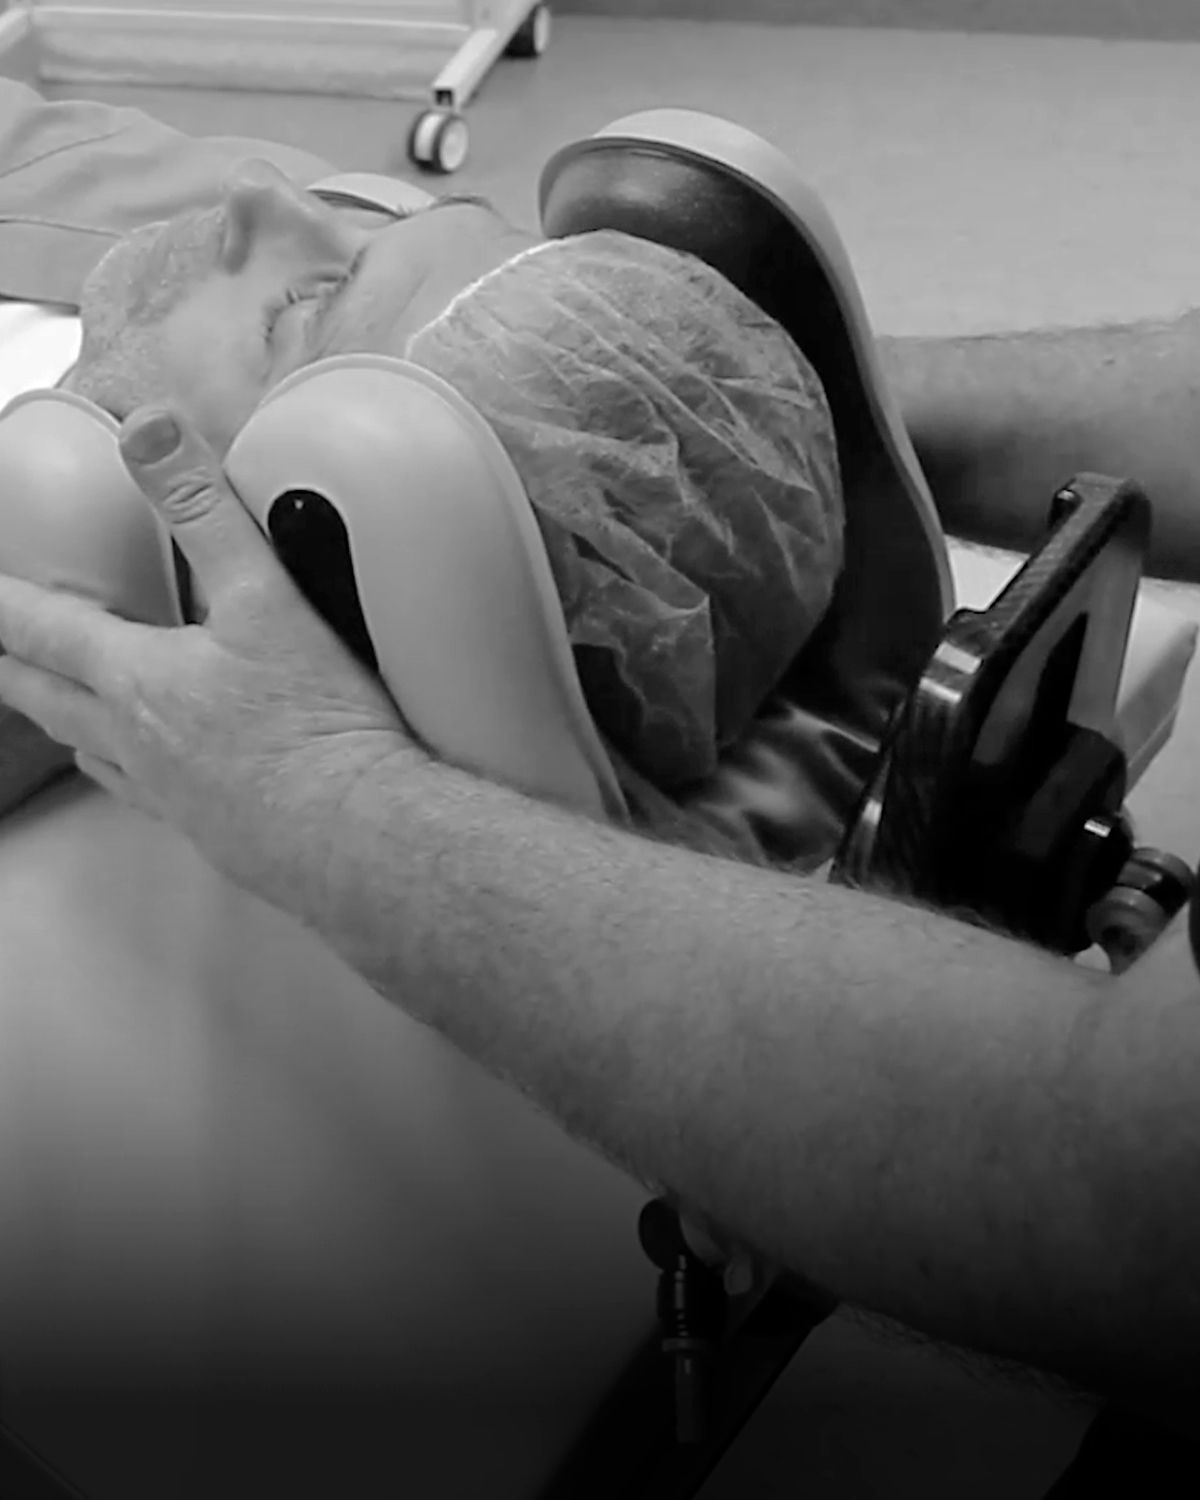
Lift the patient’s leg onto the device, positioning it so the ball of the foot rests firmly against the foot plate. Adjust the location of the Leg Support up or down the table if required. Once both the patient and the Lower Leg Support are correctly positioned, lift the table straps onto the strap surfaces at either end of the Leg Support. You may need to slide the straps slightly to align them.
Tighten both table straps firmly to immobilise the Lower Leg Support.
Padding placement (optional recommendation)
Additional padding can be placed under the patient’s leg to reduce contact with the table straps if required.
Padding may also be placed under the patient’s knee for added support if needed.
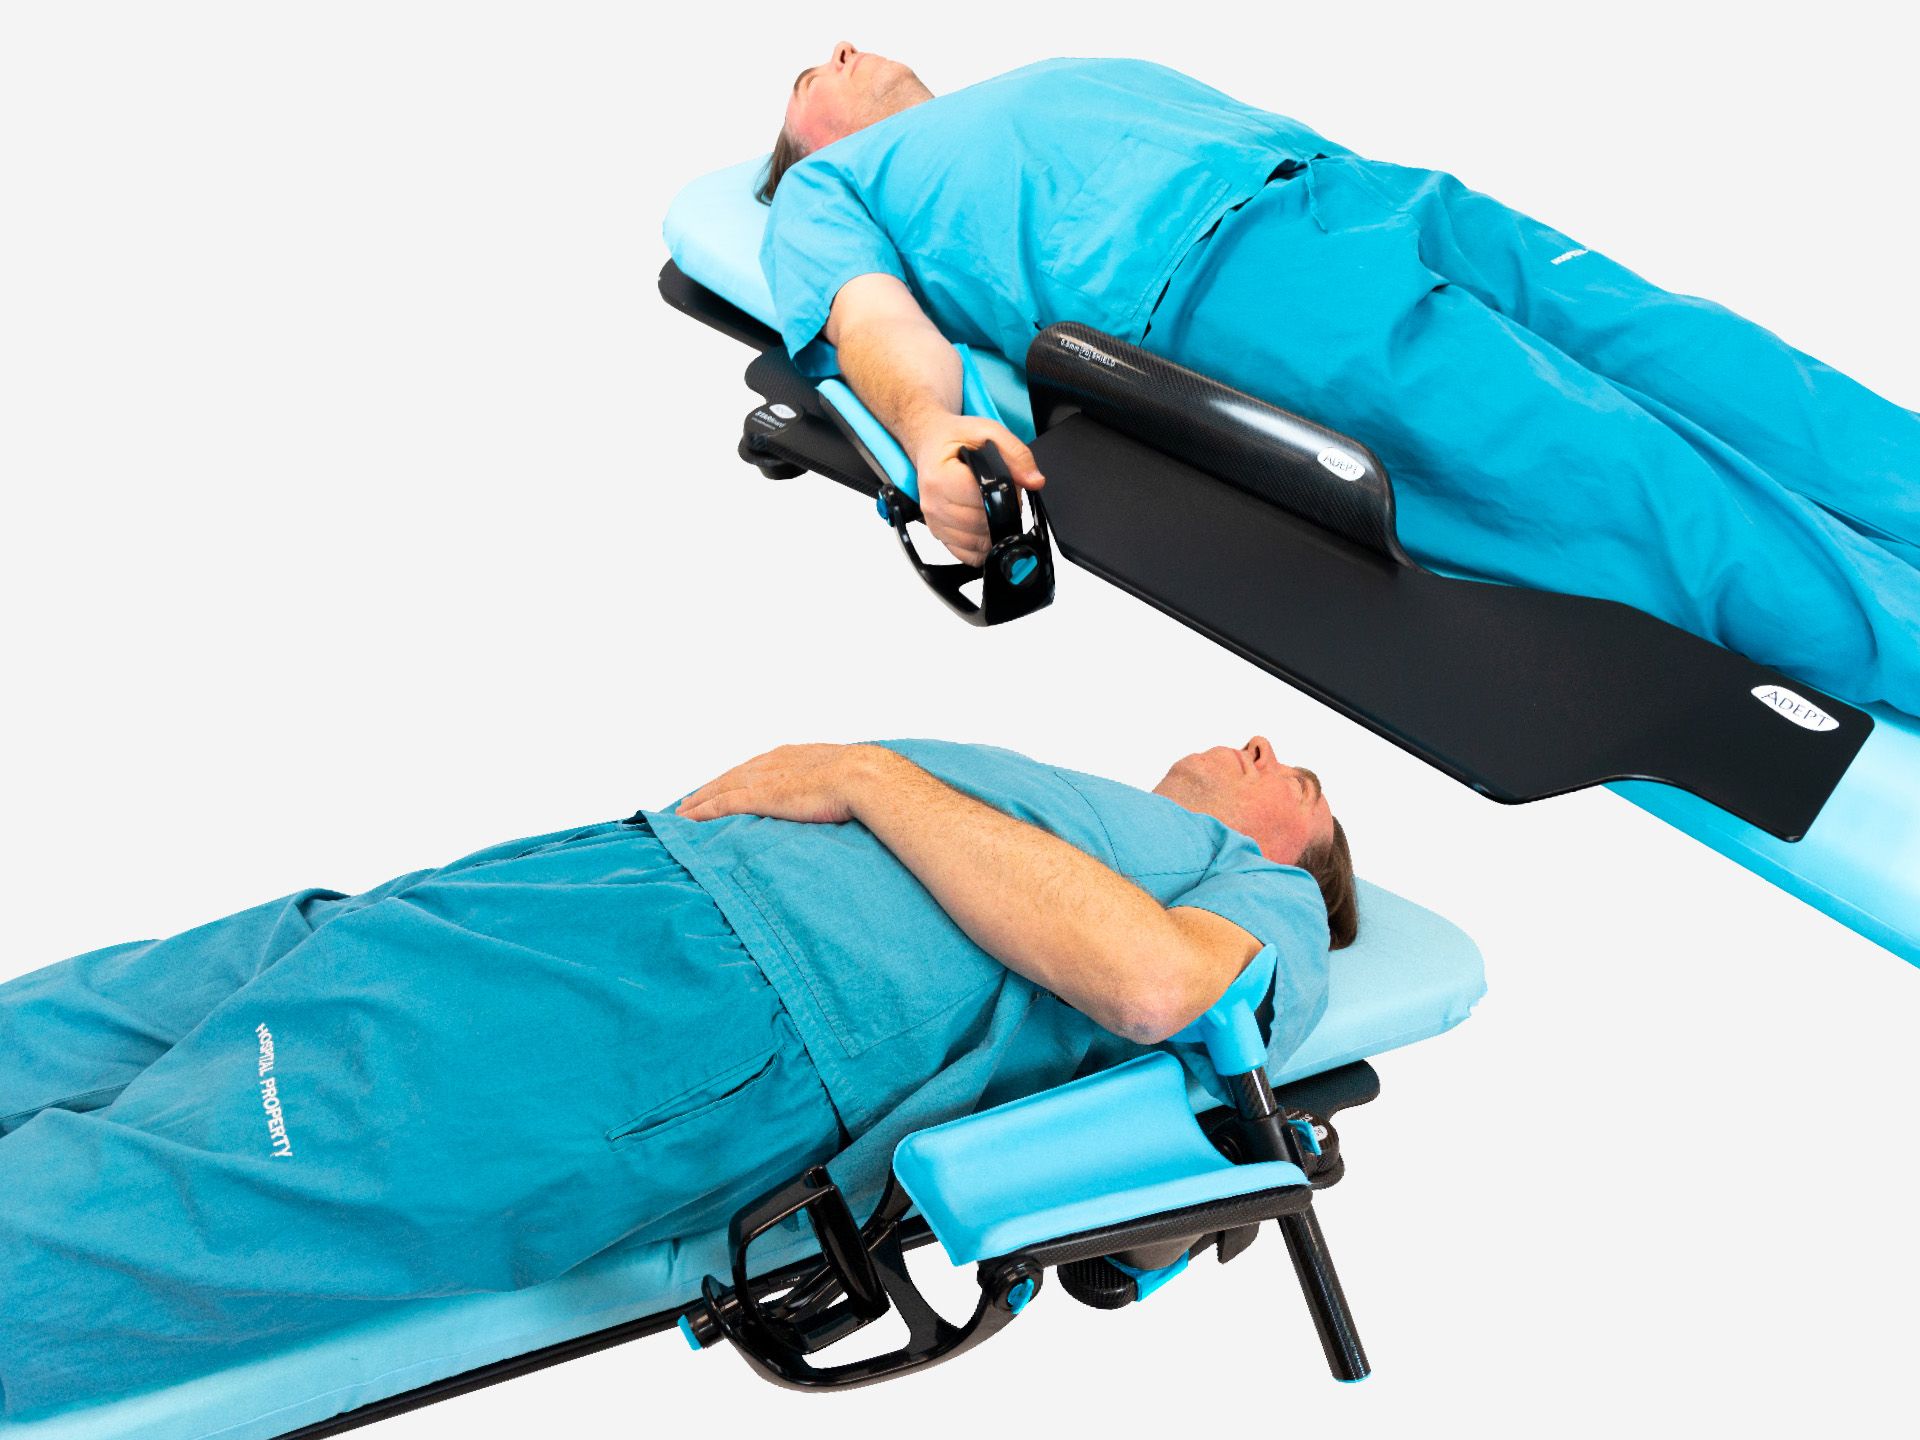
How to use the leg strap on the patient leg
Wrap the two leg straps around the patient's leg, one near the ankle, and the other closer to the knee. The side labelled “Patient Side” should face the skin to prevent contact with the rough hook-side. Additional straps can be used if required.
How to use the foot strap on the patient leg
Wrap the foot strap around the foot plate and the ball of the patient’s foot, ensuring a comfortable and secure tension.
Foot plate removal (optional)
The foot plate can be completely removed for access to the sole or back of the heel when considering Dorsiflexion or Sole/Posterior Tibial Artery Access.
How to store the device?
For a simple hanging solution, use the Storage System, a custom-designed, space-saving storage solution for the Adept Medical suite.